The employee details required by the Time Control Module mirror some, but not all, of the employee details that are in the Payroll Module. If an employee already exists in the Payroll Module then those details come through automatically into the Time Control Module. There are only a few additional details that need to be captured, including:
•shift rotation that the employee is on
•some clocking details
 Employee Details One Employee at a Time
To enter, or update, employee details:
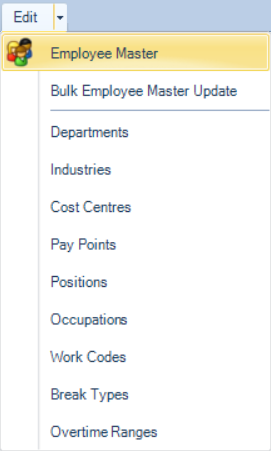
Go to the 'Edit', then 'Employee Master' menu options

Enter employee details into each of the fields on the 'Personal' tab. Note that the fields with red stars (asterisk) are required fields where an entry is required. Once the information has been entered click on the 'Works Info' tab to continue capturing information for the employee.

Enter employee details into each of the fields on the 'Works Info' tab. Note that the fields with red stars (asterisk) are required fields where an entry is required. Once the information has been entered click on the 'Time Control Settings' tab to continue capturing information for the employee. If an employee is discharged enter a date into the 'Discharge Date' field which is explained under the topic 'Discharging an employee'
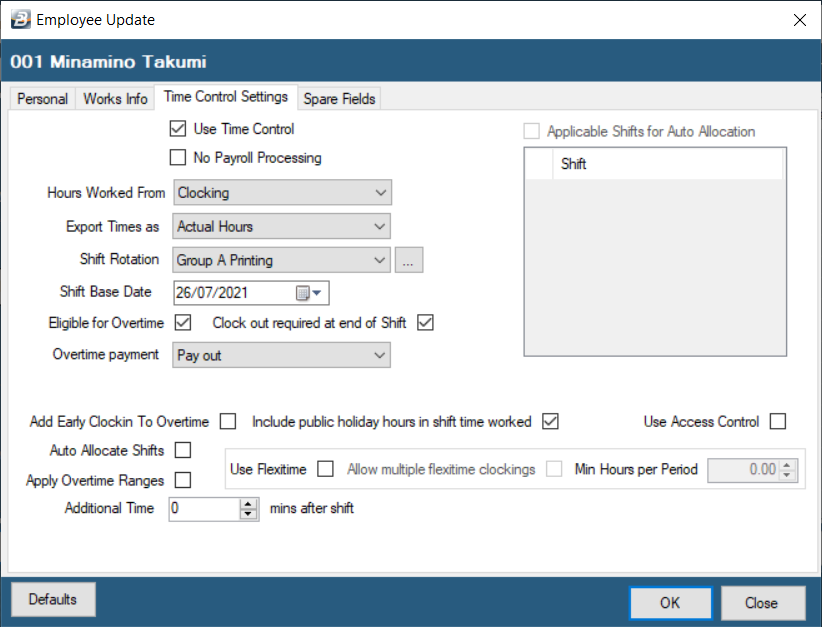
Use Time Control
|
Tick the checkbox if the employee is to included for Time Control processing.
|
No Payroll Processing
|
Tick the checkbox if the employee's times are being recorded in the Time Control Module but the employee is not being processed in the Payroll Module.
|
Hours Worked From
|
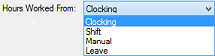
Use the dropdown menu to select one of the options:
Clocking: picks up time downloaded from the biometric terminals
Shift: picks up times from what had been scheduled on the shift setup.
Manual: all times are entered manually into the system.
|
Export Times As
|
When an export is made to the Payroll Module you have the option to have the times exported as Actual Hours worked or as Shorttime/ Overtime hours.

|
Shift Rotation
|
Select the rotation that has been setup that applies to the employee.
|
Shift Base Date
|
Select a start date for the rotation.
|
Eligible for Overtime
|
Tick the checkbox if the employee accrues overtime. Remove the tick for employees that are not eligible for overtime e.g. managers.
|
Overtime Payment
|
Select 'Pay Out' if overtime is to be paid out. Otherwise select 'Add to Leave Balance' where the overtime hours are to be added to the employee's leave bank at the overtime rate eg. 1.5 or 2.0.
|
Use Flexitime
|
Place a tick in the checkbox if the employee works Flexitime (does not work a standard shift rotation).
|
Allow Multiple Flexitime Clockings
|
Place a tick in the checkbox if there are multiple clockings on a particular day.
|
Min. hours per Period
|
If Flexitime is ticked enter the 'Minimum hours per Period' that have been agreed.
|
Apply Overtime Ranges
|
Place a tick in the checkbox if the rates to be applied depend on the number of hours worked. Example, after 10 hours overtime the rate changes from 1.5 to 1.75.
|
Add Early Clockin to Overtime
|
Place a tick in the checkbox if early clockin times are to be considered as overtime.
|
Include Public Holiday Hours in Shift Time Worked
|
Tick the checkbox to ensure that if an employee works on a Public Holiday the hours will be included on their time card.
|
Use Access Control
|
A terminal may be controlling a turnstile or other access control mechanism. If this employee does not have access then remove the tick in this check-box.
|
Auto Allocate Shifts
|
|
Outside Clocking Range of Shift
|
Putting a tick in the check-box allows the Employee Access outside the parameters that have been setup for the general employee.
If the tick is removed and hours entered into the 'From' and 'To' fields then access will only be allowed, for that employee, in the hours selected.
|
Shift Days Only
|
If the employee is only allowed access for shifts, according to the rules setup for the shift, then place a tick in this check-box.
|
For more detailed information about the Employee Master layout and details
It is possible to update specific employee master details in bulk. To do this see Bulk Employee Master Update. An example of where this is useful is where you would like to change the shift rotation for a group of employees. This can be done in bulk using this routine.
|
Import Employee Details from Spreadsheet
To import employee details from spreadsheet:
Go to the 'Utilities', then 'Import Data', then 'From Excel' menu options
Use the elipsis button to select the file to import
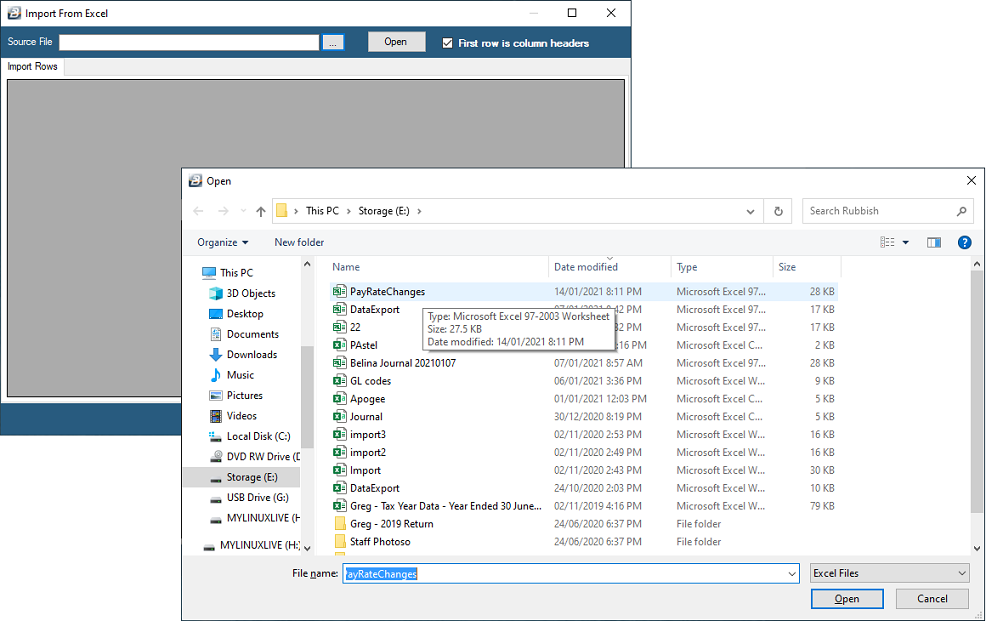
Press 'Open' to open the selected spreadsheet
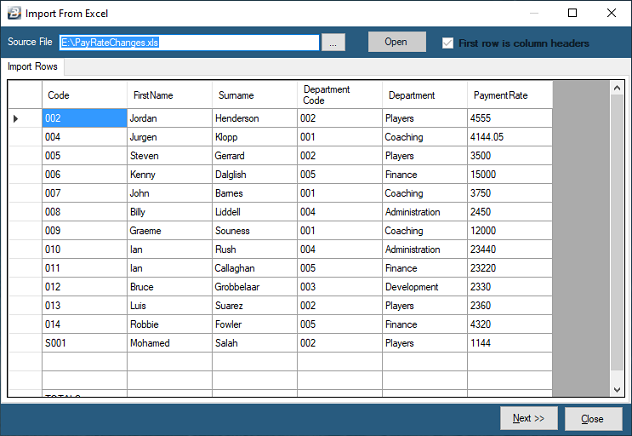
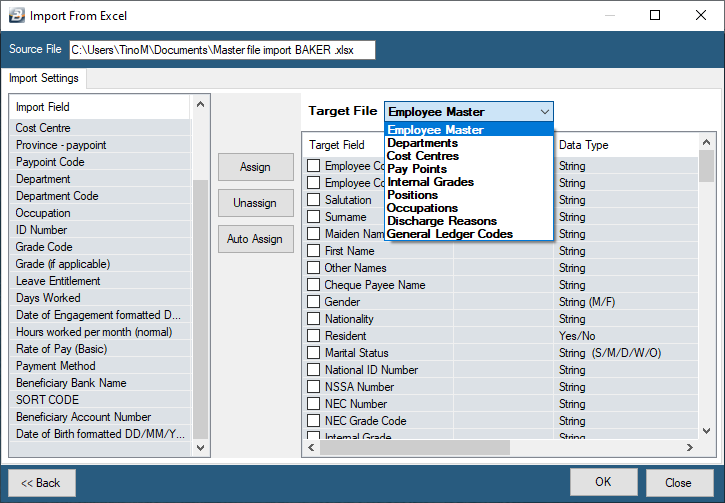
•Check that the spreadsheet data is being displayed as expected •Press 'Next' •Use the dropdown menu to select the 'Target File' type of import required •Notice the listed 'Import Field' entries in the left hand panel and the 'Target File' Listings in the right hand panel •Link the fields in the left hand panel to those in the right hand panel •Clicking on the field in the left panel then click on the related field in the right hand panel •The 'Import Field' description will be displayed next to the Target File description in the right hand panel.
|