We now need to capture the employees names into the system.
Note: you do not need to capture employees again in the employee master if you are running the Payroll Module. We simply need the existing employees to be activated for Time Control.
If employees are being captured then first make sure that any necessary ‘Occupations’, ‘Departments’, ‘Costcentres’, ‘Paypoints’ and ‘Positions’ are setup first.
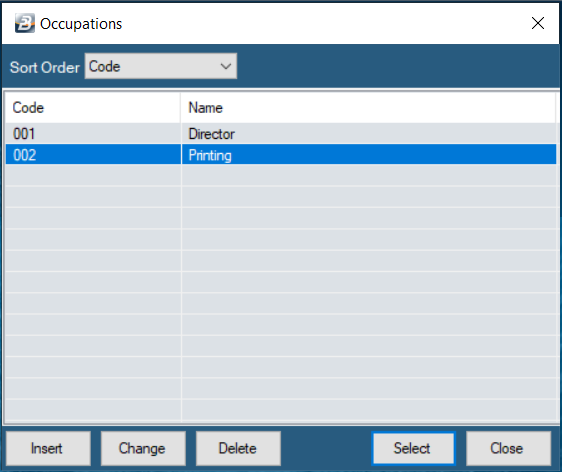
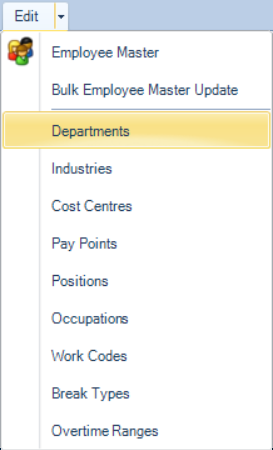
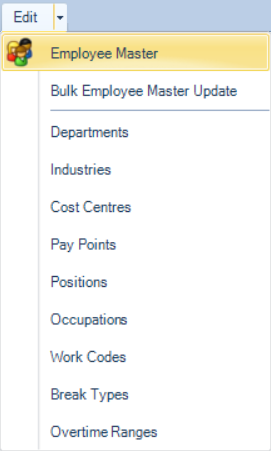
Go to the ‘Edit’ then ‘Occupations’ menu options:
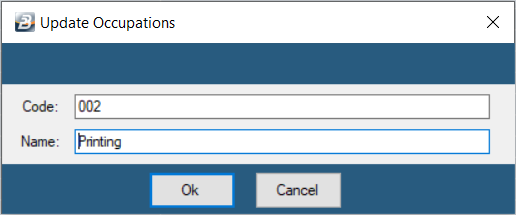
Click ‘Insert’ to enter a new Occupation.
Type in the ‘Name’ of the Occupation and then click ‘OK’.
Click ‘Close’ when you are through or Click ‘Insert’ again to continue adding more Occupations. |

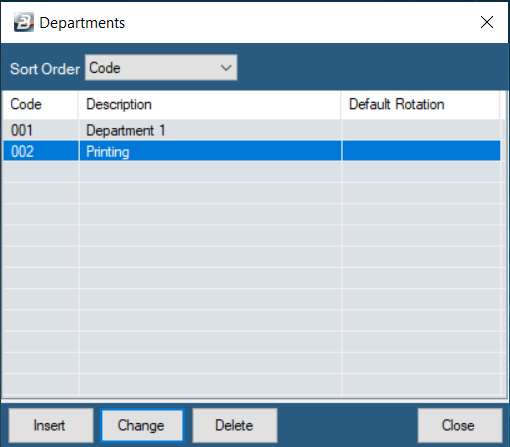
To add Departments: Go to the 'Edit' and then 'Departments' menu options:
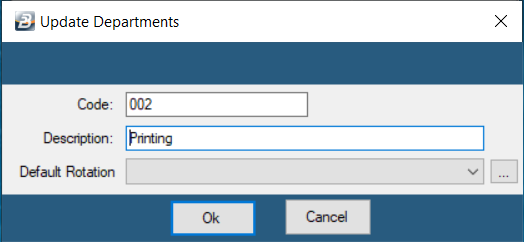
Click ‘Insert’ to enter a new Department Type in the name of the Department Click 'OK' to save.
Click ‘Close’ when you are through or Click ‘Insert’ again to continue adding more Departments. |
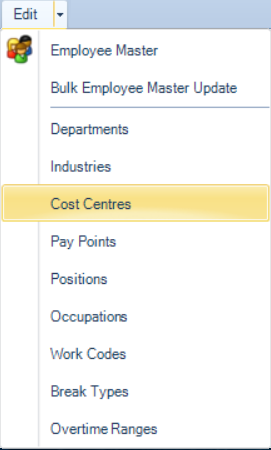
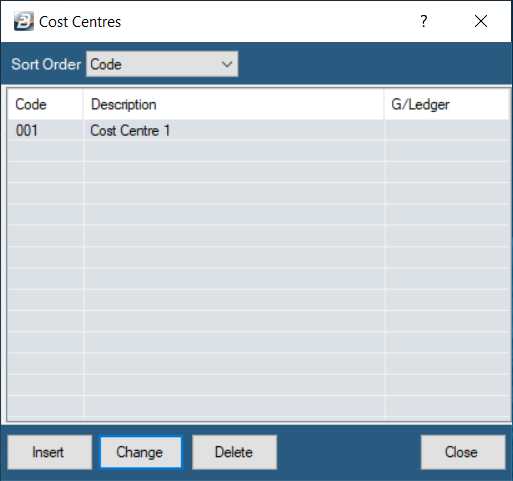
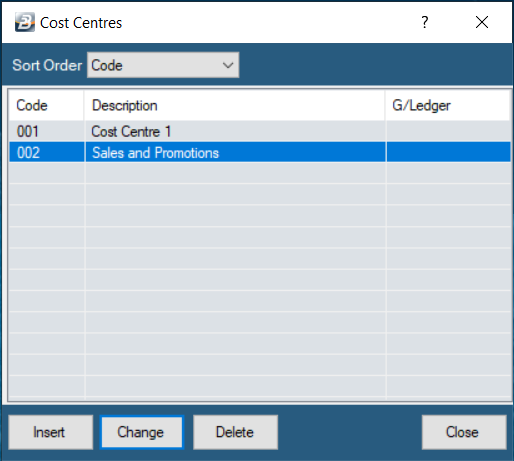
To add Cost Centres: Go to the 'Edit' and then 'Cost Centre' menu options:
Click ‘Insert’ to enter a new Cost Centre
Cost Centres are useful in Time Control especially when you are required to produce Canteen, Job Costing and Productivity reports. Type in the Cost Centre ‘Description’ and Click ‘OK’. Click 'Close' when you are through or Click 'Insert' again to continue adding more Cost Centres.
|
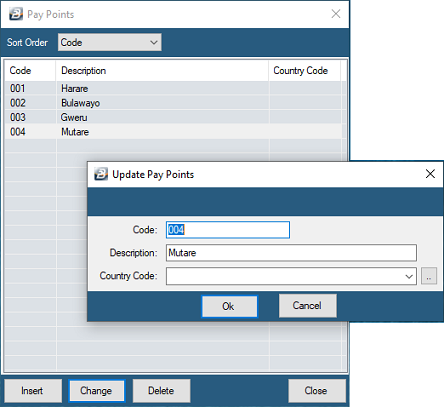
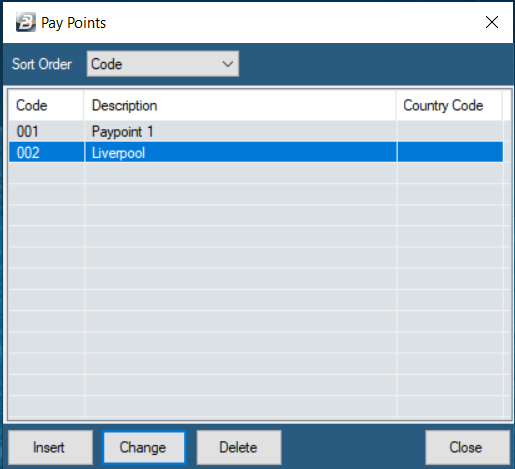
To add 'Pay Points': Go to the 'Edit' and then 'Pay Points' menu options: Click ‘Insert’ to enter a new Paypoint.
Type in the name of the ‘Paypoint’. Paypoints are usually a place where a person collects their pay but it can be a Branch where the employees work or place where the Biometric Clock is situated.
Click ‘Close’ when you are through or Click ‘Insert’ again to continue adding more Pay points. |
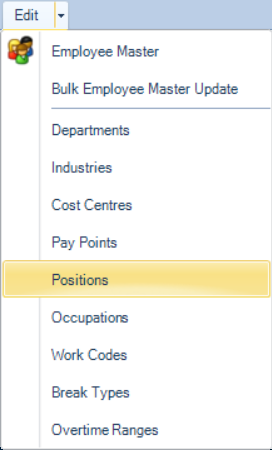
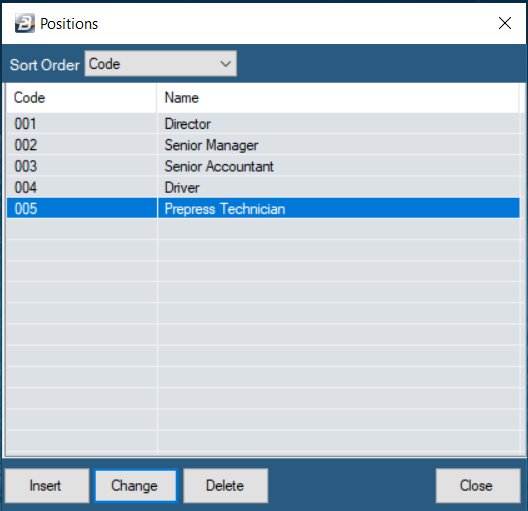
Positions Setting up ‘Positions’ can be helpful in Time Control especially when you want to allocate rotations or shifts that are only applicable to certain positions. Click on the ‘Edit’ then ‘Positions’ menu options.
Type in the ‘Name’ of the Position and Click ‘OK’.
Click ‘Close’ when you are through or Click ‘Insert’ again to continue adding more Positions. |
![]() Capturing Employees - Manually
Capturing Employees - Manually
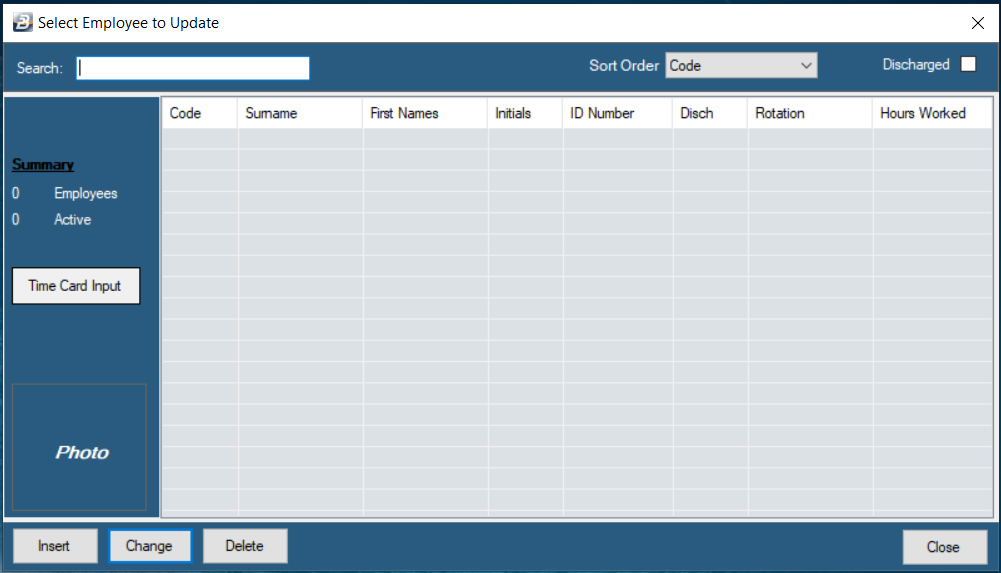
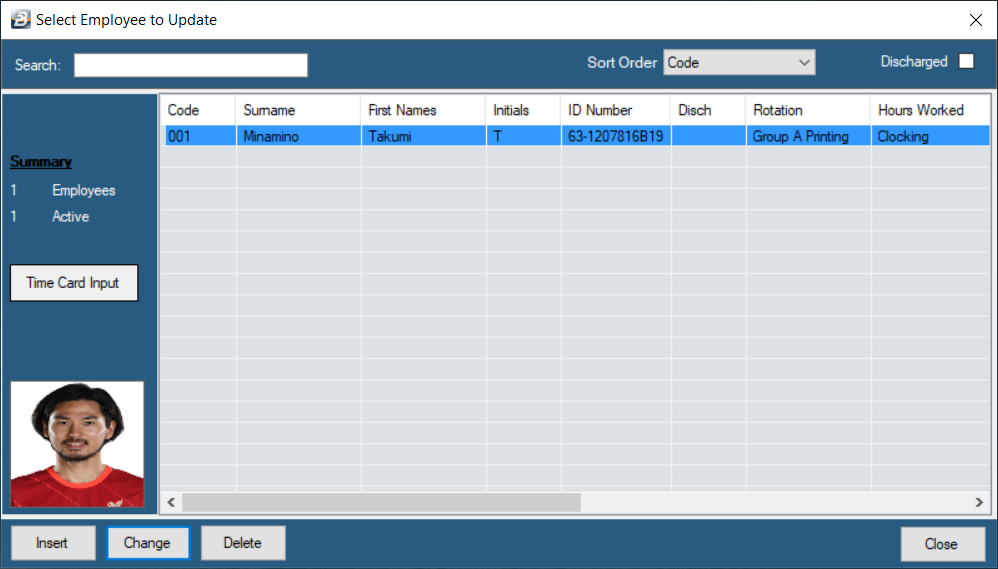
Employee Master For organizations using the Belina Payroll module employee most of the employee details are already in the system. There are mostly just 'Time Control Settings' to be setup. To setup, or view, employee details: Go to the 'Edit' then 'Employee Master' menu options.
If the Payroll Module is not being used then the employee table is empty.
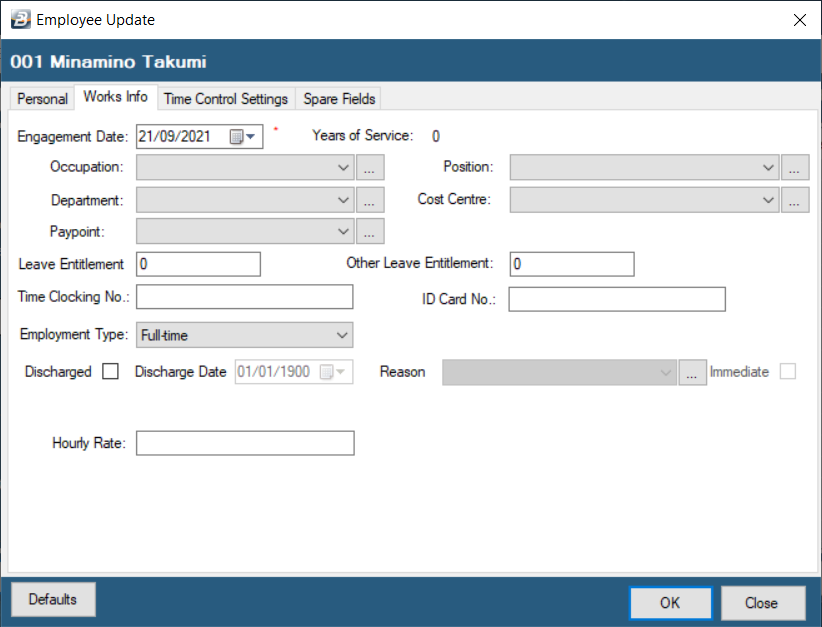
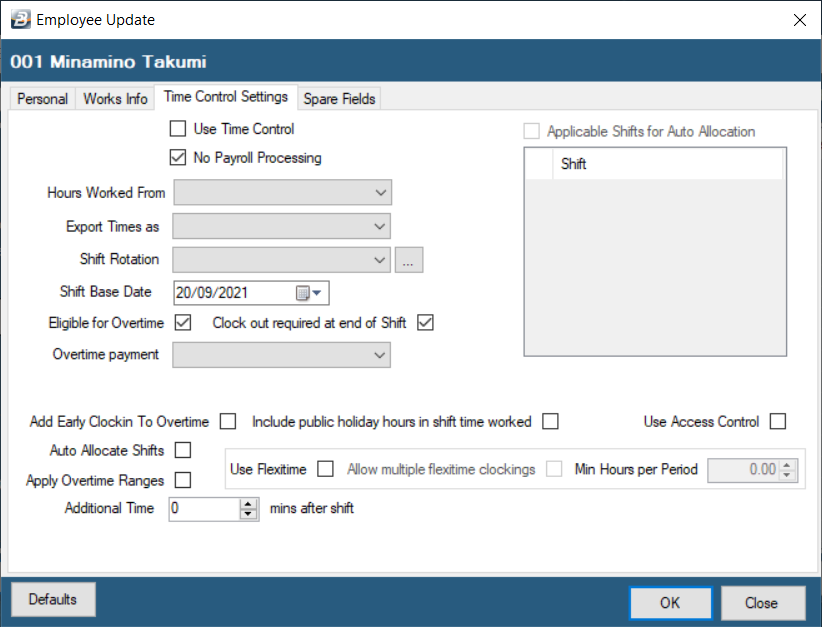
Click ‘Insert’ to enter the first new employee. Start by filling in details onto the 'Personal' Tab. Note: all the fields with a red asterisk (*) are compulsory therefore you cannot skip them. Do not press 'OK'. We only press 'OK' when all the required fields have been entered onto each of the Tabs. Then select the 'Works Info' Tab.
Fill in the details on the 'Works Info' Tab. The 'Time Clocking No.' will be entered later and other field information may also be entered later.
Click on the 'Time Control Settings' Tab when you are through.
We have not explained to you in the Getting Started manual the full range of options that are available to you. Click on the 'OK' button to save the settings.
|


![]() Capturing Employees - Import from Spreadsheet
Capturing Employees - Import from Spreadsheet
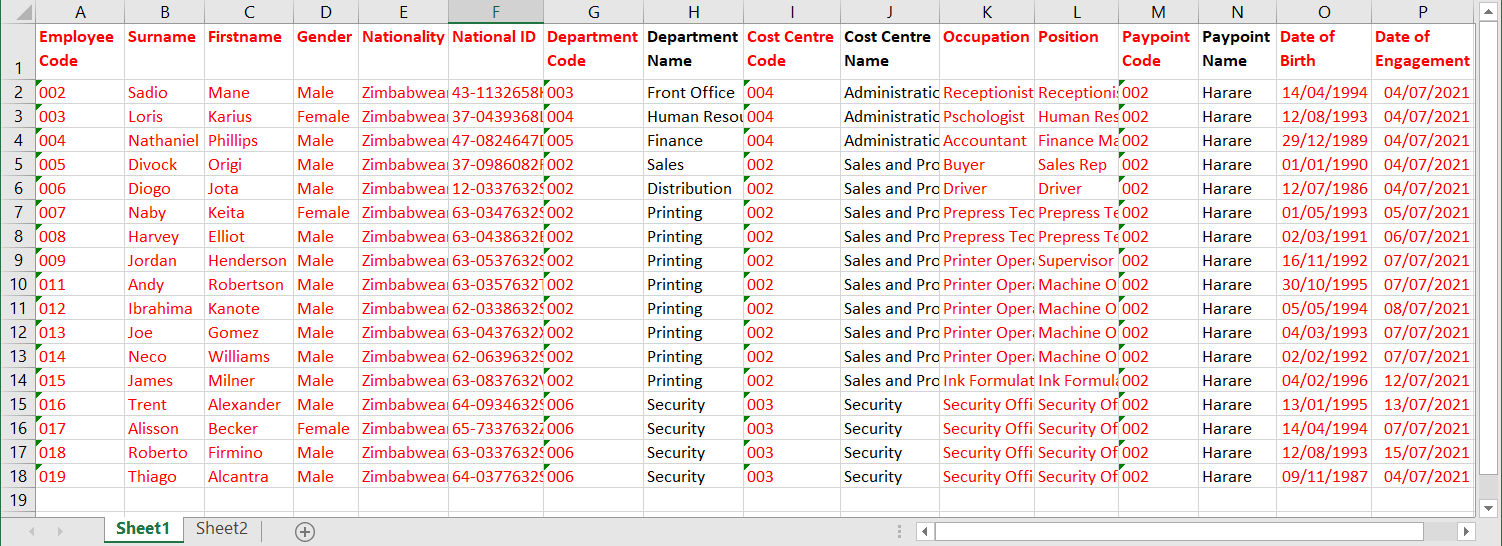
There are other methods of inserting employees in bulk in the employee master like importing the spreadsheet with the employee details. If you have more than 10 employees importing the employee details from a spread sheet will save you a lot of time. You can only import employee details for the ‘Personal’ and the ‘Works Info’ tabs only. There is another way to configure the settings of the Time Control Settings’ tab in bulk. How to import a spreadsheet To import employee details from a spreadsheet it is first necessary to prepare the spreadsheet in a specific format, as shown:
The spreadsheet should: •be shown on the first workbook, normally called 'Sheet 1' •the spreadsheet should have no formulas •the first row should have column headings •the first column should have unique employee codes •the spreadsheet should not have any blank columns between other columns •the dates should be formatted in the dd/mm/yyyy format •the columns shown above, in red, are compulsory fields and should contain information. •Fields for Departments, Cost Centres, Pay Points, Grades, Positions and Occupations should only have the relevant code. The descriptions have already been setup in the software.
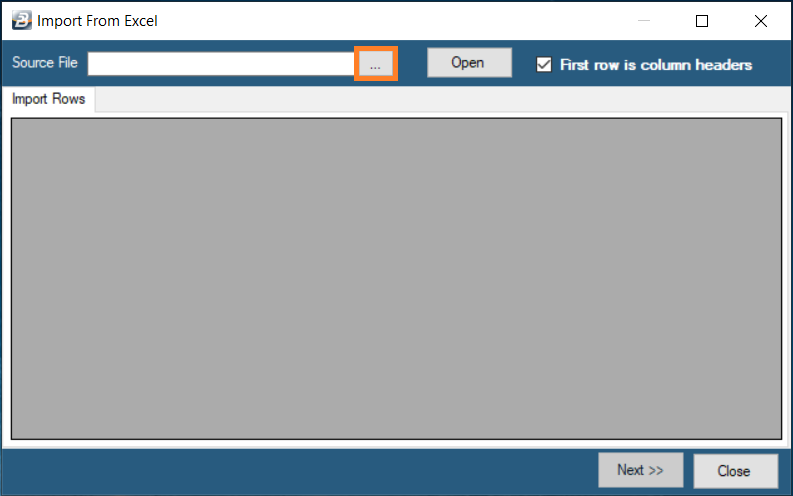
To import the Spreadsheet Go to the 'Time Controll' Module in the Belina Software. Go to the ‘Utilities’, ‘Import data’ then ‘From Excel’ menu options.
Click on the ‘Elipsis’ button (button with three dots) to select the spreadsheet that you saved.
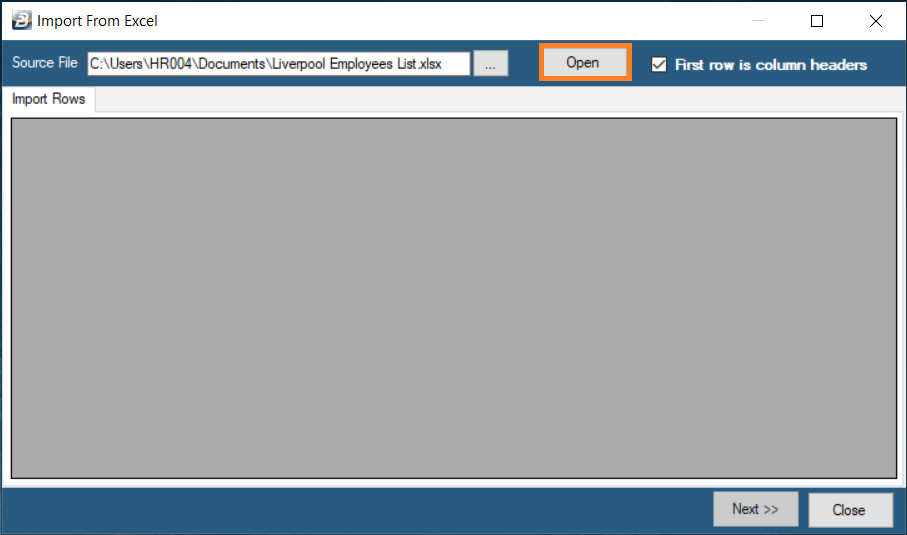
After selecting the 'Source File' click the 'Open' button.
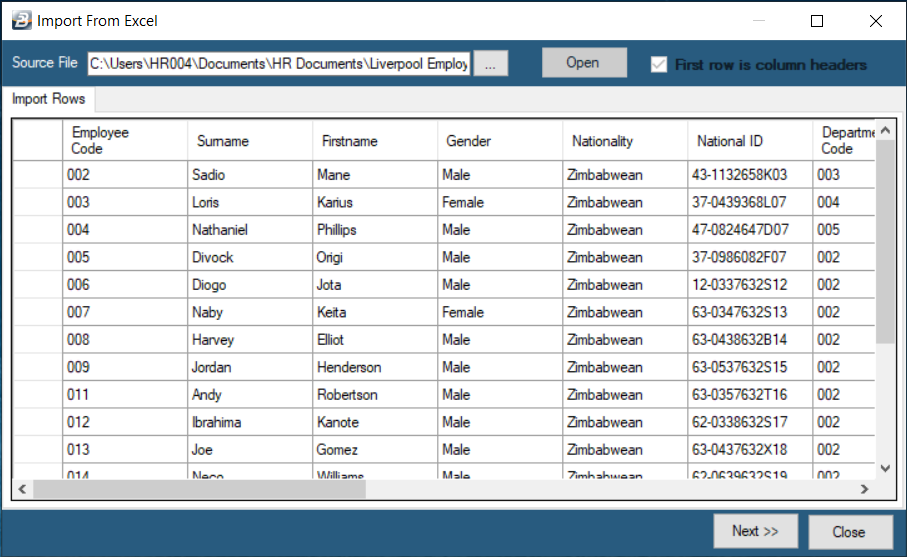
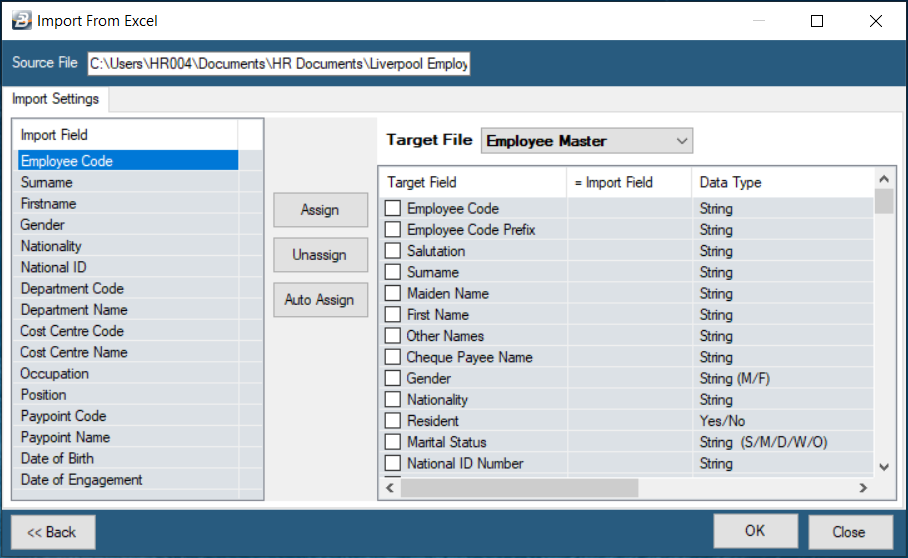
After Clicking the 'Open' button now lets click the 'Next>>' button.
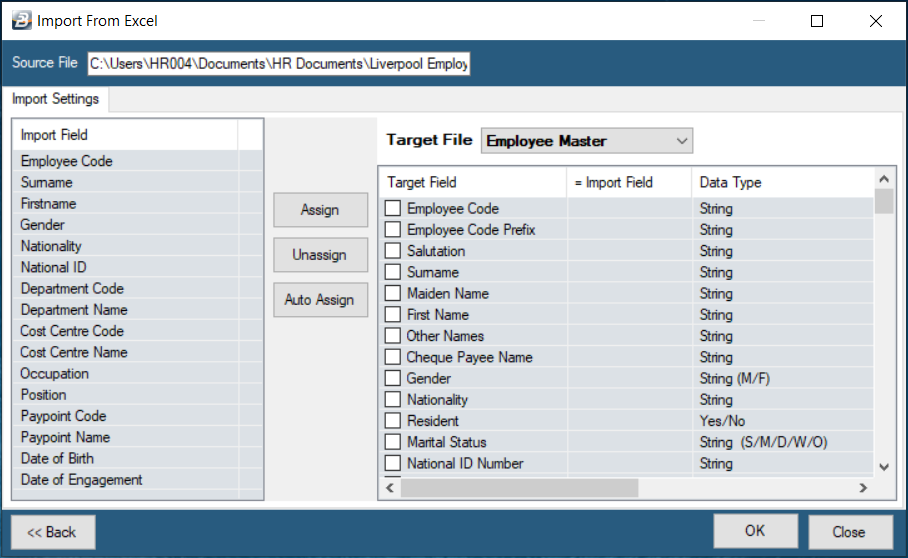
The fields in the left-hand panel under ‘Import Field’ represent fields on the spreadsheet. The fields in the right-hand panel under ‘Target Field’ represent fields in Belina. The ‘Employee Code’ is the primary/ key field. The ‘Employee Code’ should always be selected whenever you are importing a spreadsheet.
Select the Import field first then....
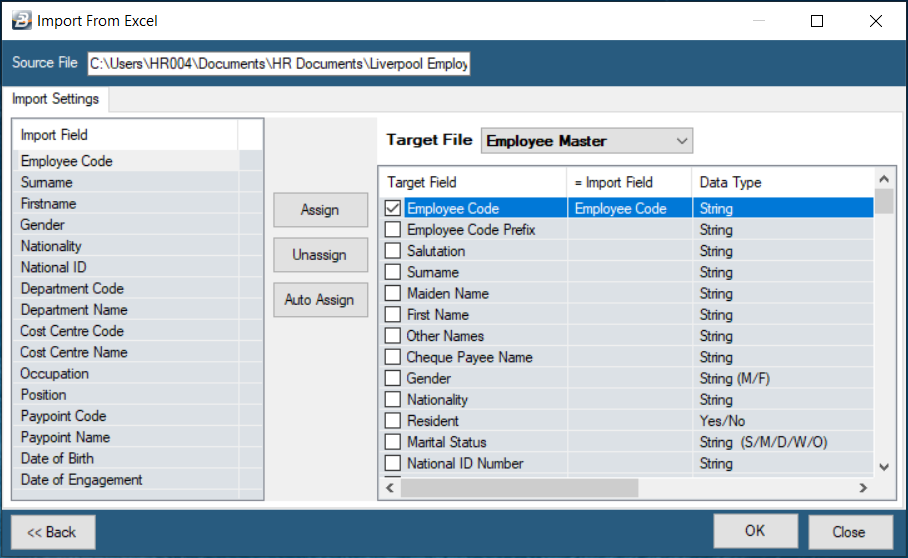
Select (pairing) the target field by ticking the check box. Notice that the spreadsheet field description is immediately displayed on the right side under the = Import Field as confirmation of a successful selection.
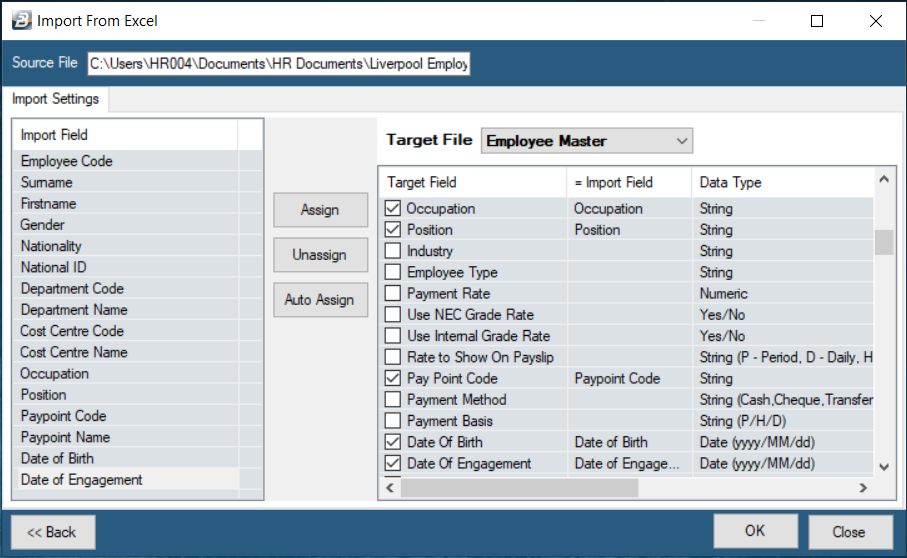
Continue pairing the ‘Import Fields’ and the ‘Target Fields’ until all the fields on the spreadsheet have been paired. Then Click the ‘OK’ button.
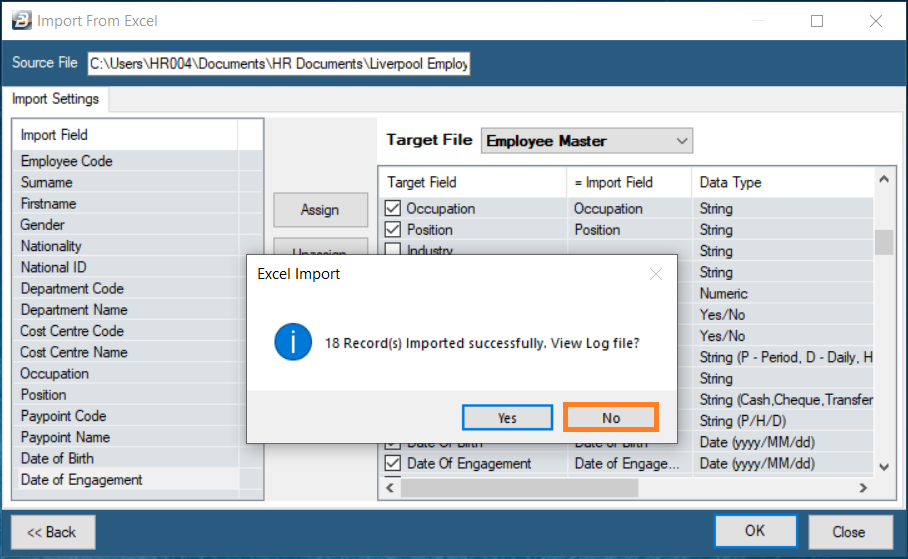
Click ‘Yes’ if you want to check a detailed system log of the importation process. Otherwise click ‘No’ and proceed. |

![]() Configure Time Control Settings in Bulk
Configure Time Control Settings in Bulk
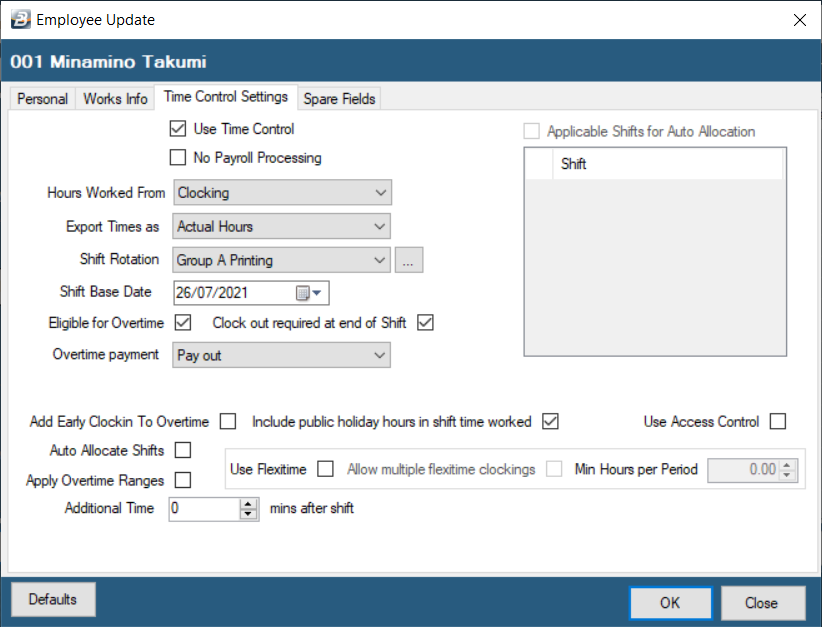
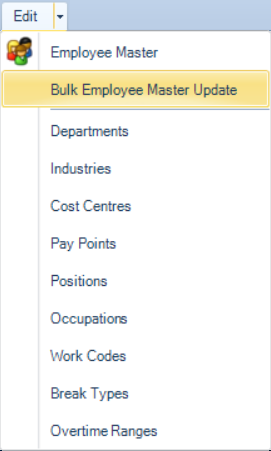
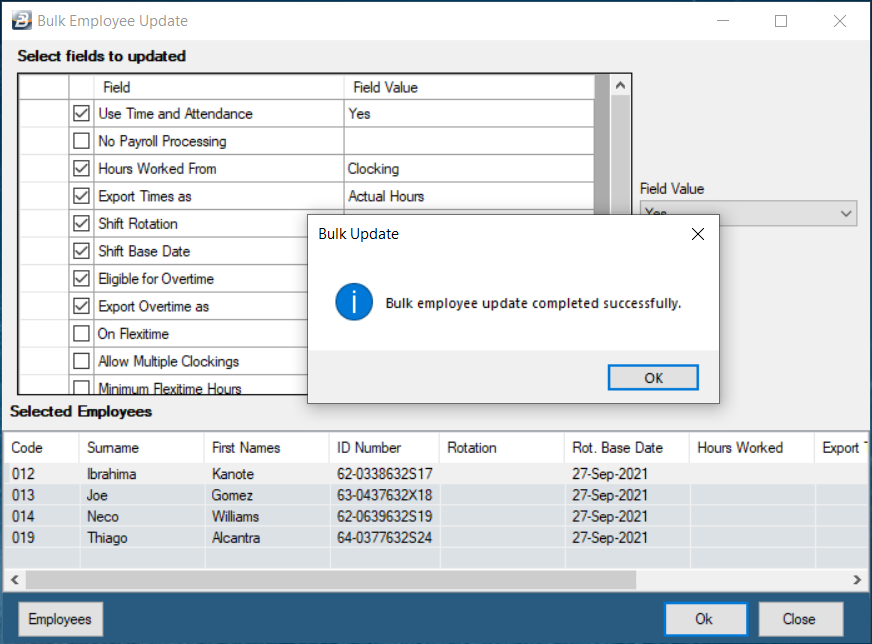
Now lets configure the Time Control Settings in bulk for the employees that we have just imported. To do this: Go to the ‘Edit’, then ‘Bulk Employee Master Update’ menu options.
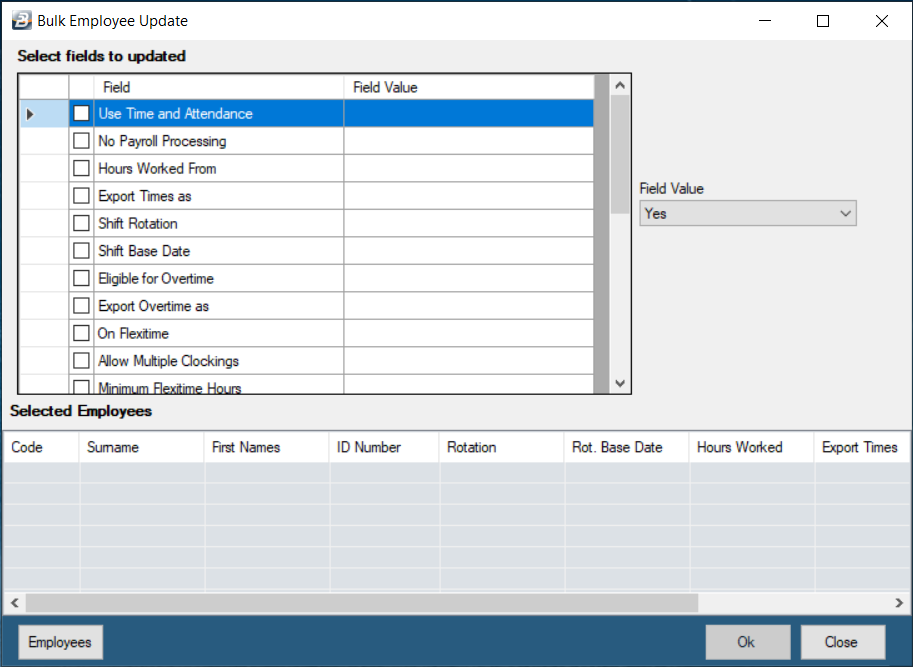
The fields displayed are the same as the one that you find under the 'Time Control Settings' tab in the Employee Master.
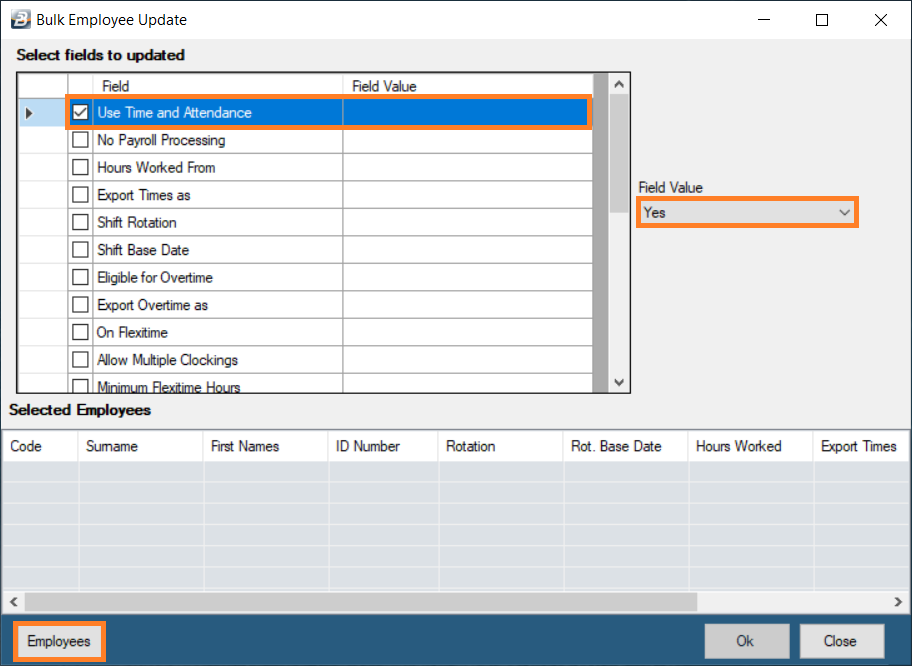
Selections are made by putting a tick in the check box under the ‘Field’ column. Then move across to the ‘Field Value’ dropdown list box to change its value (Yes/No). In some instances, the field value could be different depending on the field that you want to change. Continue changing the values for all the fields that you want included. Once complete click on the ‘Employees’ button to select the employees to be affected.
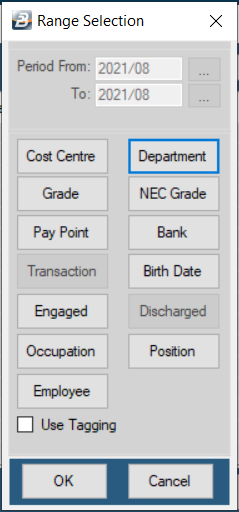
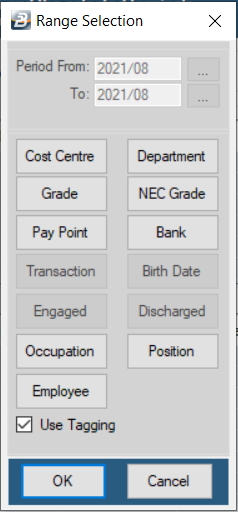
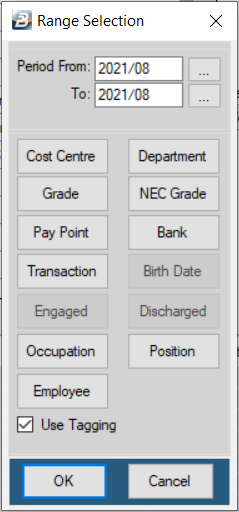
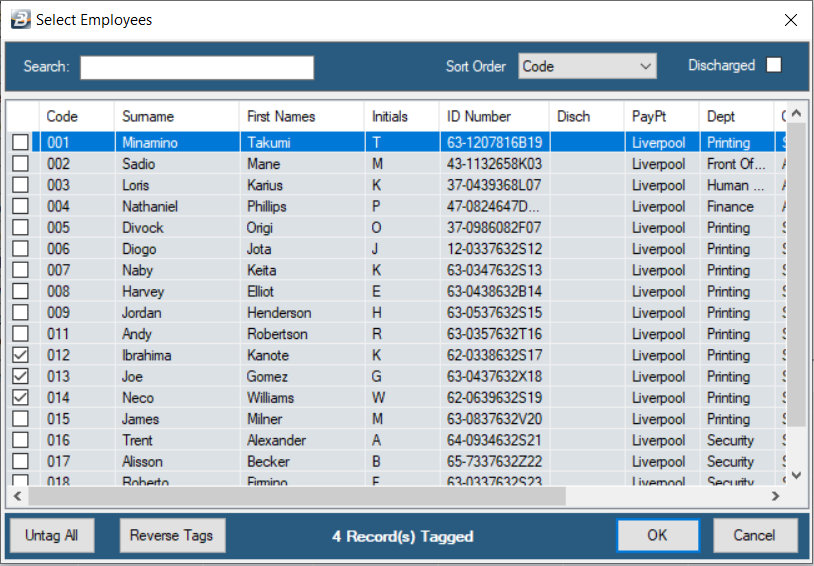
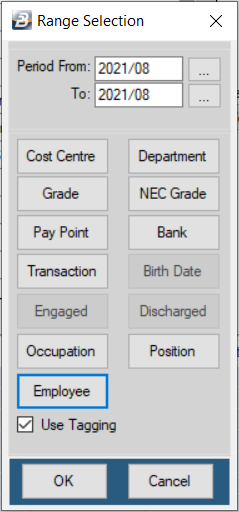
After clicking on the ‘Employees’ button the range selection window displays. Place a tick in the ‘Use Tagging’ checkbox. Then click on any of the buttons (Cost Centre, Department, Grade, Nec Grade, Paypoint, Bank, Transaction, Occupation, Position, Employee) that you want to use as a selection criterion. In this scenario we are going to click on the Employee button.
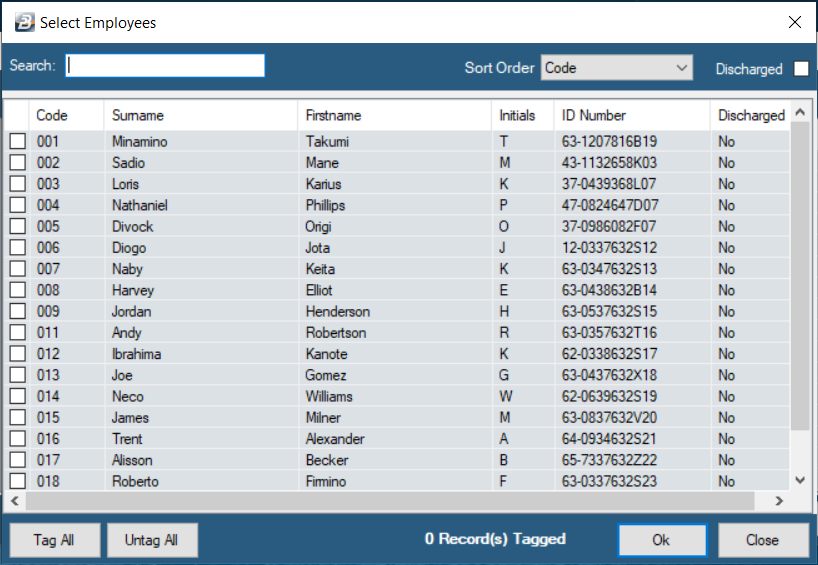
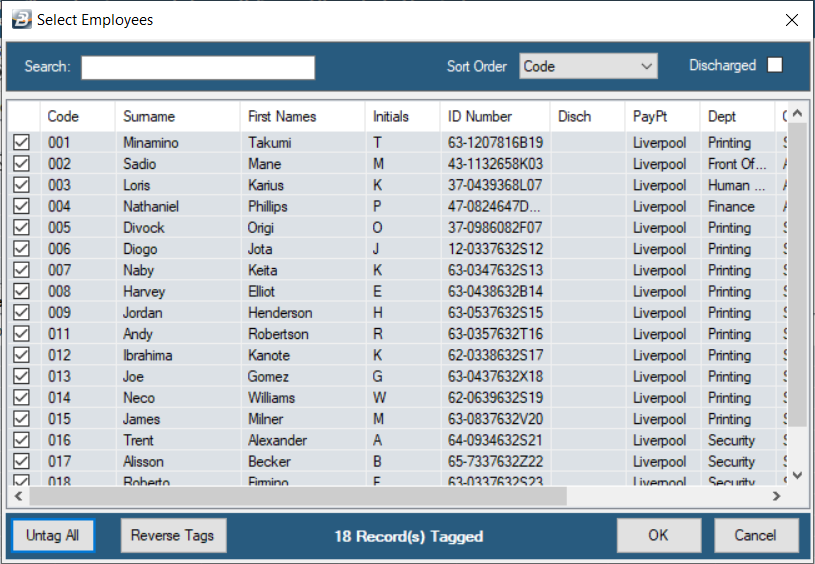
Tick selected employees to whom you want to apply the configuration settings. If the settings apply to all the employees just click on the ‘Tag All’ button.
After selecting the employees click on the ‘OK’ button.
Click ‘OK’ to proceed.
Click the ‘OK’ button after the bulk update success confirmation. As you have noticed we only selected a few employees for the rotation ‘Group A Printing’ so there is need to further allocate respective rotations to other employees by repeating the same procedure.
Now let’s move on to the next stage which is the process of: •Generating Clock ID’s, and •Enrolling names onto the clocks. |


![]() Synchronizing the clocks with the Employee Master
Synchronizing the clocks with the Employee Master
Synchronizing the clocks with the Employee Master
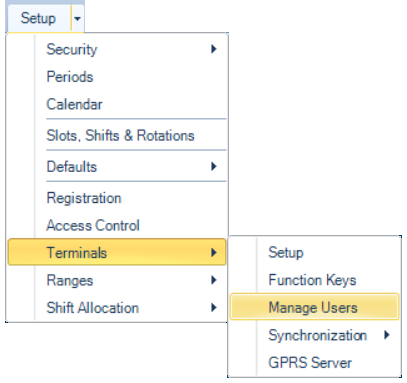
Step 1 – Creating Clock IDs To do this: Go to the ‘Setup’, ‘Terminals’, then ‘Manage Users’ menu options.
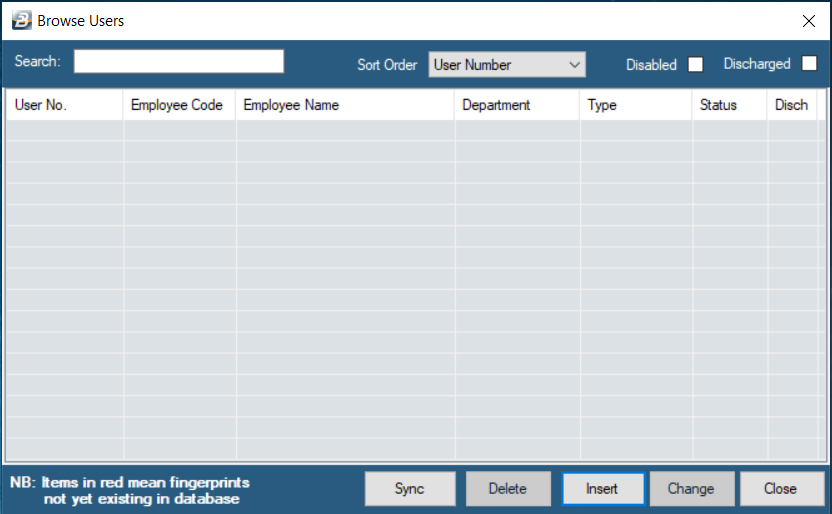
Click on ‘Insert’
The Range Selection screen displays, Click ‘OK’ without making any range selection changes.
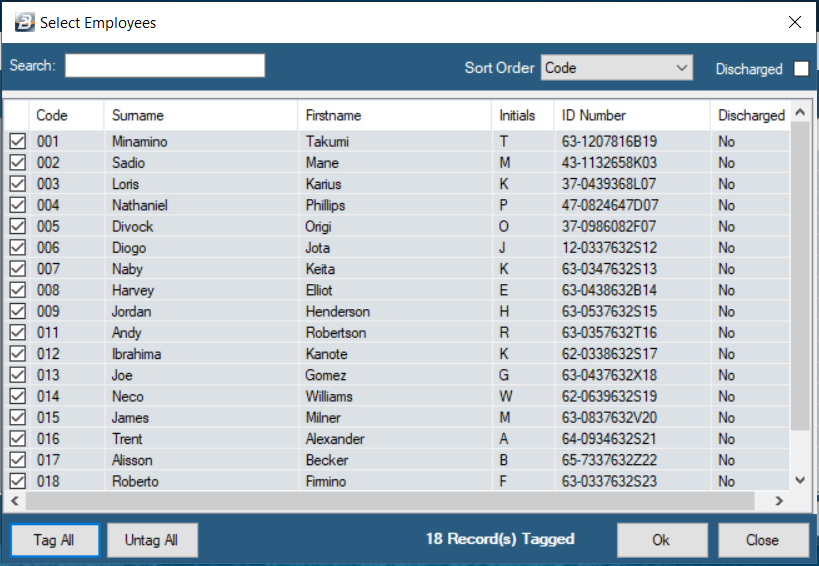
Employees that have not yet been assigned a Clock ID come through automatically. Tag the employees that you would like to assign a Clock ID. Use ‘Tag All’ if you would like to select all, or most of them, and remove any tags as necessary.
Press the ‘Untag All’ button if you want to reselect or Press ‘OK’ to proceed.
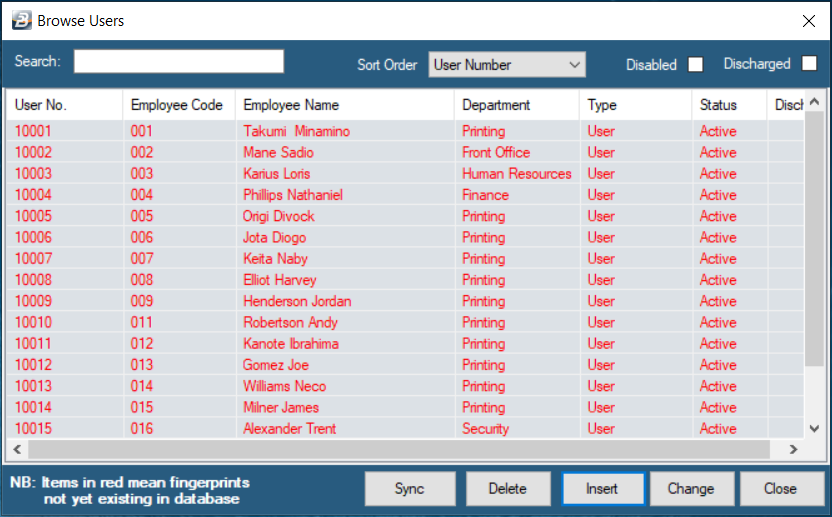
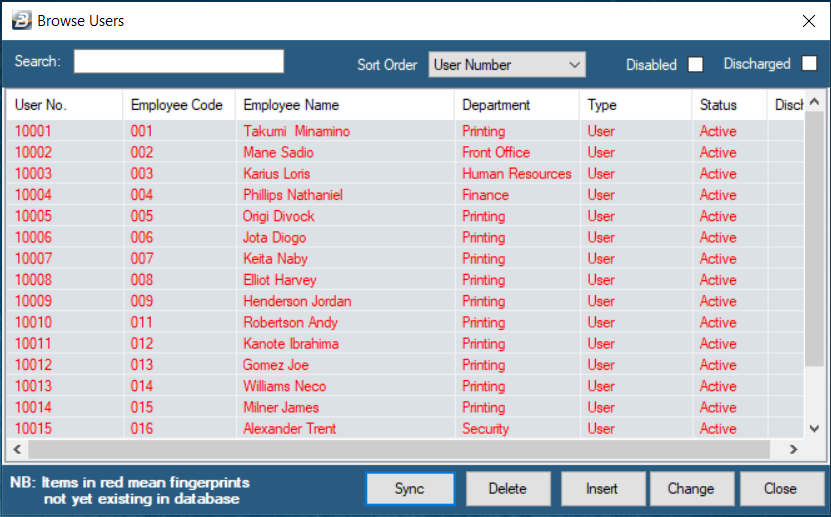
Notice the names appear in red on the ‘Browse Users’ window. Notice the User ID’s (User Number) under the User No. Column. The Biometric clocks make use of the User No. as a unique identifier for the employees and not the Employee Code. The Employee Code and User Number get matched in Belina for use on timecards and reports. Now press the ‘Sync’ button to start the process of uploading the names onto the clock.
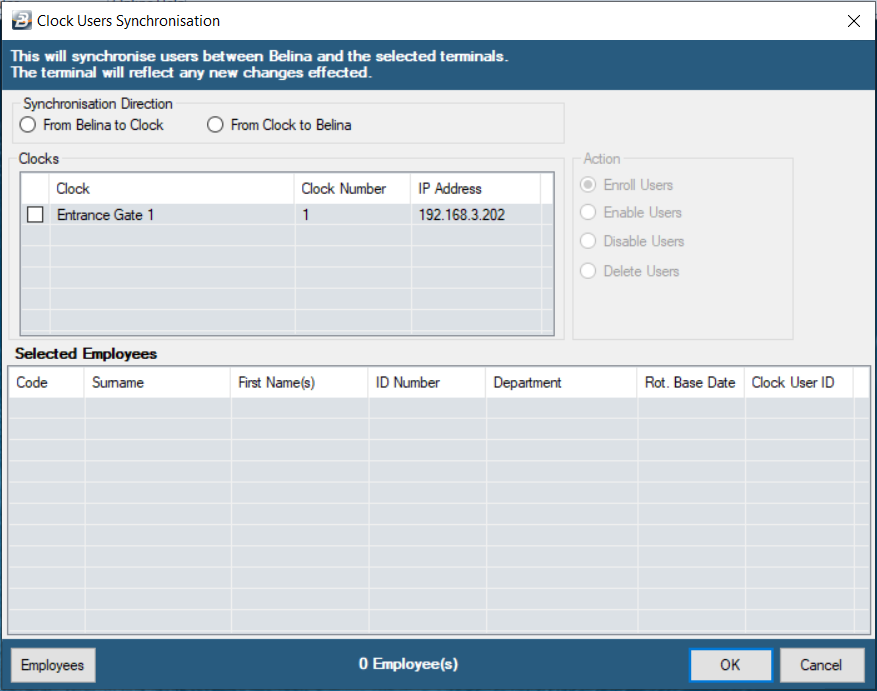
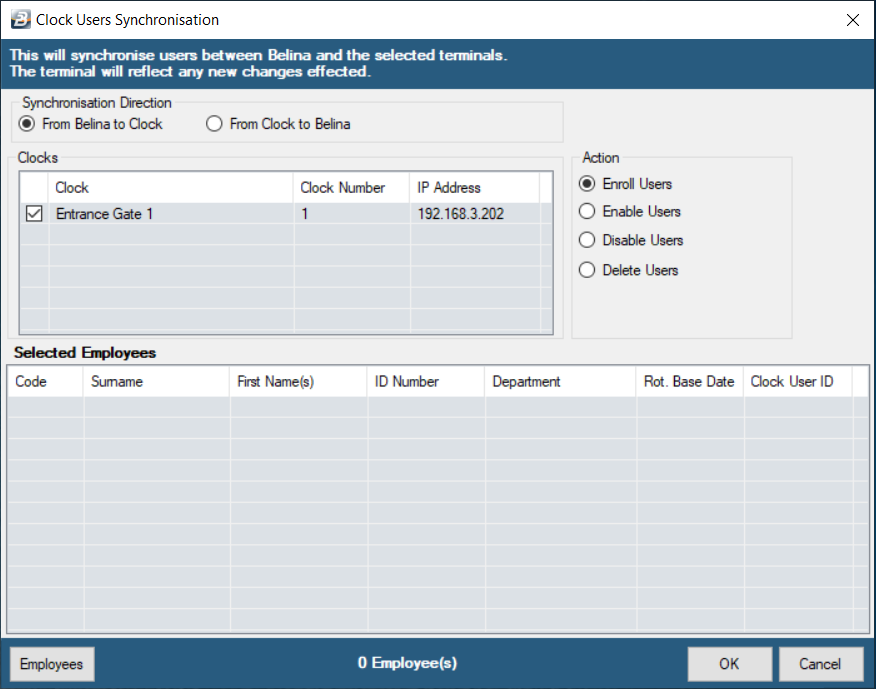
Select the Synchronisation Direction ‘From Belina to Clock’ – This takes employee details from the Belina Software to the clock. It sends the ‘Clock ID’, ‘First Name’ and ‘Surname’ only. Accept the ‘Action’ default radio button to ‘Enroll Users’. Select the clock that the information will be sent to. Place a tick against the name of the clock that you want to send the names to. In a multi-clock environment, we normally encourage to have one clock as a master clock which should have all the employees and their fingerprints on it. That clock will be very useful if you want to quickly reassign employees from one clock to another as well as using it as a fingerprint backup clock.
Now let’s Click the ‘Employees’ button. The Range Selection screen displays.
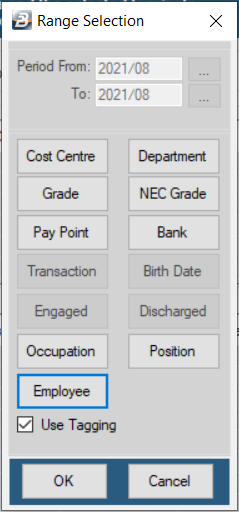
Select the ‘Use Tagging’ checkbox and Click the ‘Employee’ button.
Tag one employee at a time or use the ‘Tag All’ button to select all the employees. Press ‘OK’ to proceed.
The Range Selection screen is displayed again. Click ‘OK’ if there are no further range selections to be made.
Notice that the selected employees are then listed on the table.
Press ‘OK’ to proceed. The synchronization is then performed.
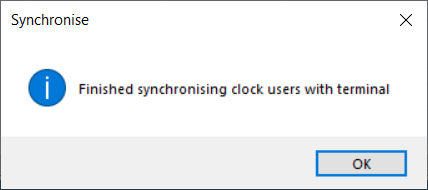
When the Synchronization is complete a confirmation message is displayed.
Press ‘OK’ to continue.
Click Close so that we start capturing fingerprints. |