The Belina biometric terminals may be connected to the Belina Time Control Software through a network linked by:
Ethernet Cable |
Using co-axial cable and RJ45 connectors. In this sort of situation if there is a VPN (Virtual Private Network) link to a remote site it is possible to upload and download transactions and data over any distances. |
Serial Cable |
RS232 and RS485 communication using the Serial port on your computer. This is generally an older means of linking the terminals and is an available option. |
Wireless |
Belina biometric terminals can be Wireless enabled and can link into the wireless network. |
USB |
In most instances it is ideal to have terminals linked by one of the above means. There may be situations, however, where data needs to be manually carried to or from the terminal. |
For detailed information about the networking of terminals see the Section 'Comm. (Networking Connectivity')
The server onto which the Belina Software has been installed should always have a static IP address. In that way other terminals that are referencing to the server can always gain access using that same IP address.
Step 1 Connect Terminal Connect Terminal to PC using Ethernet Cable. At this point Windows will identify the connected device and will automatically install drivers for the terminal.
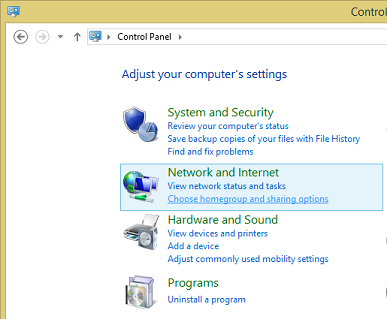
Step 2 - IP Address We now need to find the IP address of the PC and setup the terminal to use the same IP address range. To do this: - Go to the 'Control Panel' in Windows and select 'View netowrk status and tasks' under the 'Network and Internet' option:
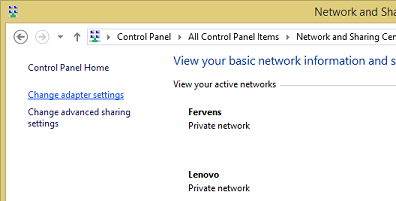
Step 3 - Change adapter Settings
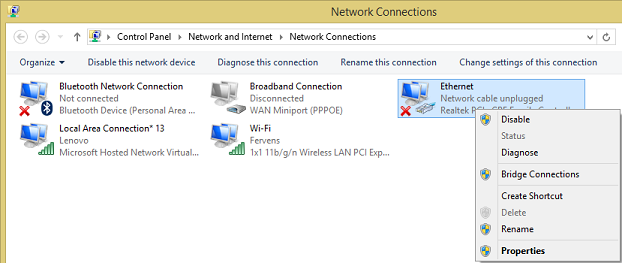
Step 4 - Right-click on 'Ethernet' Adapter Right-click on 'Ethernet' Adapter and select the 'Properties' menu option that is displayed on the menu.
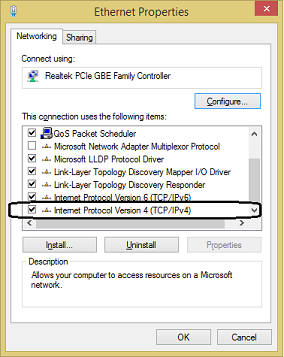
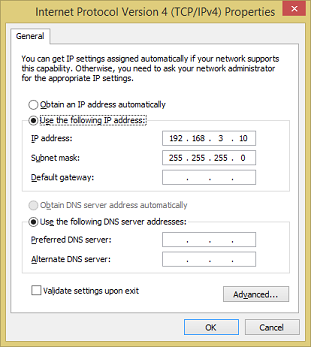
Step 5 - Select 'IP Internet Protocol Version 4 ' Scroll down the table displayed and select the option 'Internet Protocol Version 4' and click on the 'Properties' button at the bottom of the screen.
Step 6 - Assign Terminal IP address within the PC IP address range
In the example below the PC IP address is static, it has been setup as a User defined IP address. Liaise with your network administrator to determine the default Gateway if that is to be used.
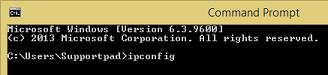
In other situations the IP address of the PC is being allocated by a server, or domain controller, as a dynamic IP address (DHCP). In this case we need to run a 'ipconfig' command from the Command Prompt to determine the IP address of the PC.
Type 'ipconfig' in the command line and press enter:
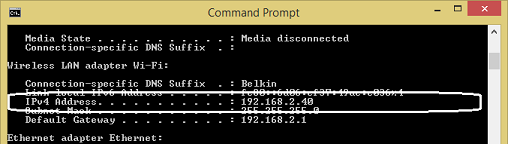
Look for the IP address in the text displayed against 'Internet Protocol Version 4' (IPv4) :
Step 7 Use this to determine the Terminal IP Address
We now go to the terminal and enter the valid IP address for it to use. See Terminal Networking
|