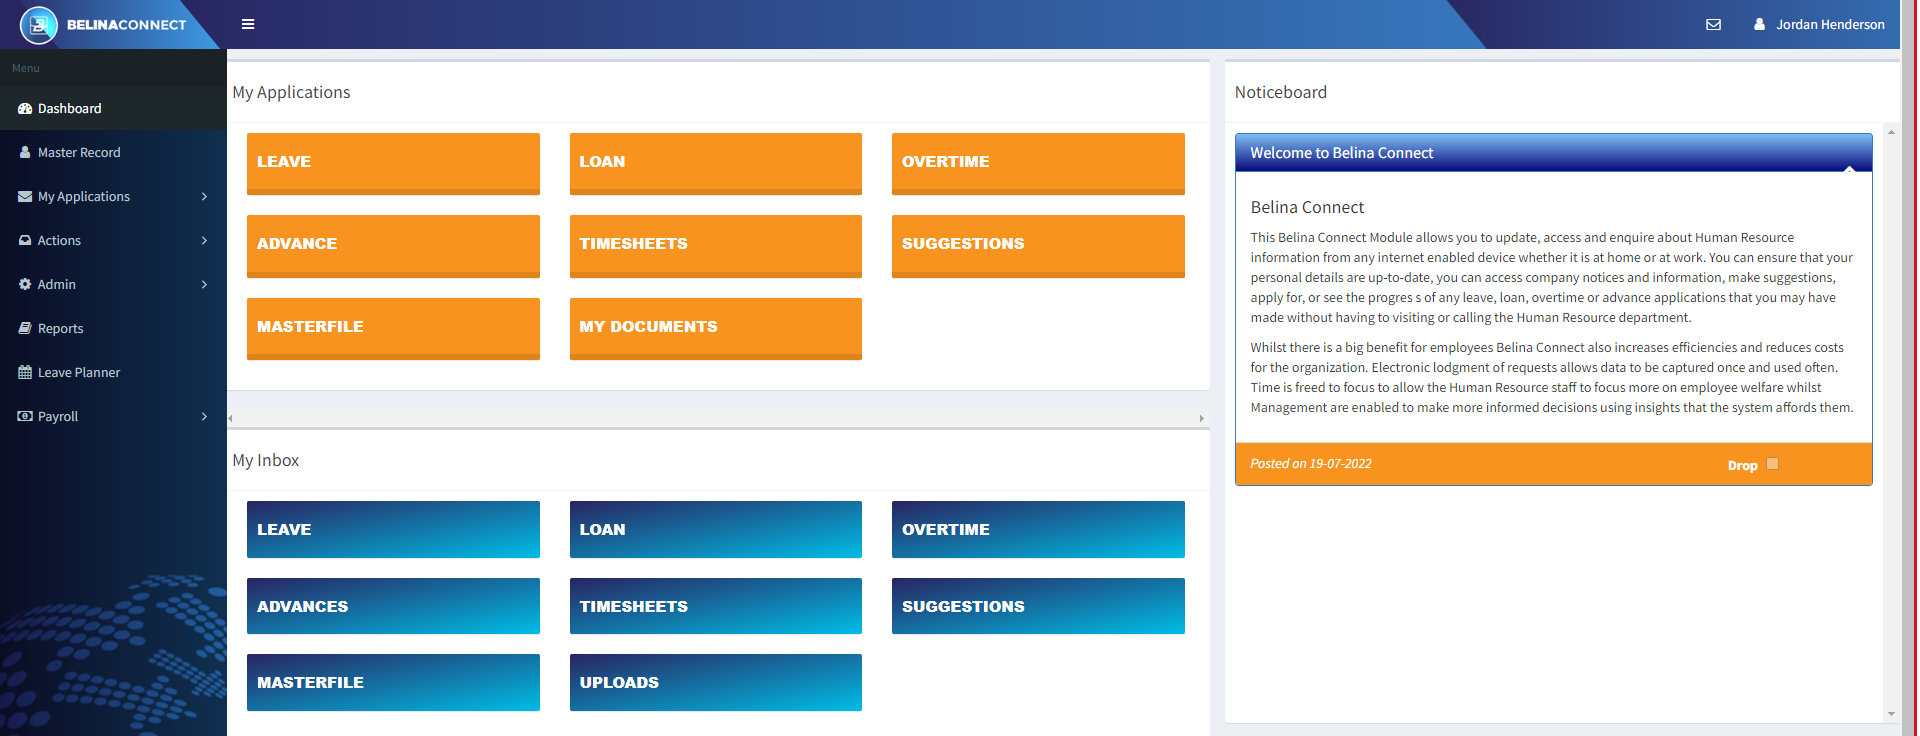
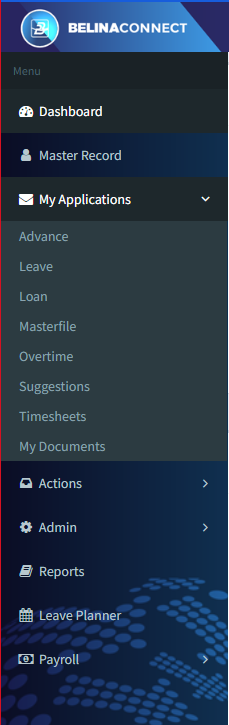
To make an application click on the tile/ button under 'My Applications'. Alternatively go to the menu on the left hand side of the Dashboard and press 'My Applications'. The following menus display:
Note: The 'My Inbox' tiles are only displayed for Users that are part of the approval process.
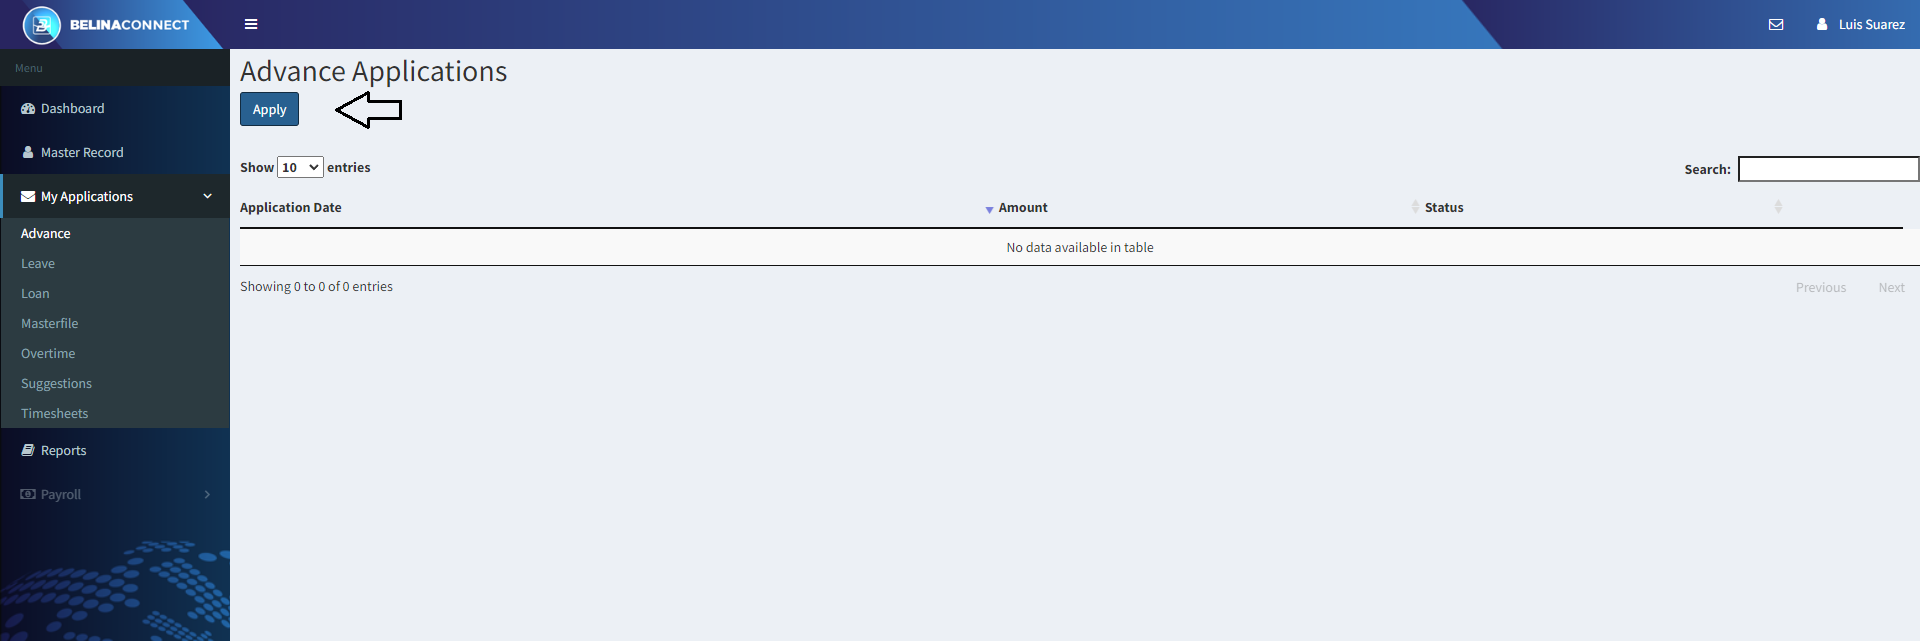
To apply for an Advance click on the 'Advance' tile/ button under 'My Applications'. Alternatively go to the menu on the left hand side of the Dashboard, select 'My Applications', then 'Advance'. The next screen displays a list of all the Advance applications that have previously been made, if any. Notice the status of each application, whether it is 'Pending', 'Approved' or 'Rejected'.
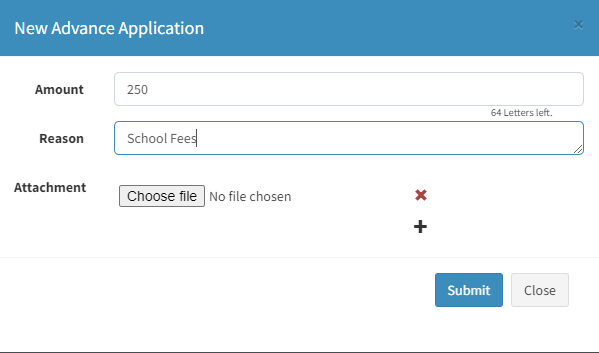
Press the 'Apply' button to apply for an advance Enter the details of the Advance being applied for:
Press the 'Submit' button once you have filled in the details and would like to submit the Advance application. The application will automatically be taken to the inbox of the first person in the approval chain until it is finally Approved or Rejected. By pressing the 'Eye' icon it is possible to see that status of the application and where the application is in the approval chain. |
To apply for Leave click on the 'Leave' tile/ button under 'My Applications'. Alternatively go to the menu on the left hand side of the Dashboard, select 'My Applications', then 'Leave'. The next screen displays a list of all the Leave applications that have previously been made, if any. Notice the status of each application, whether it is 'Pending', 'Approved' or 'Rejected'.
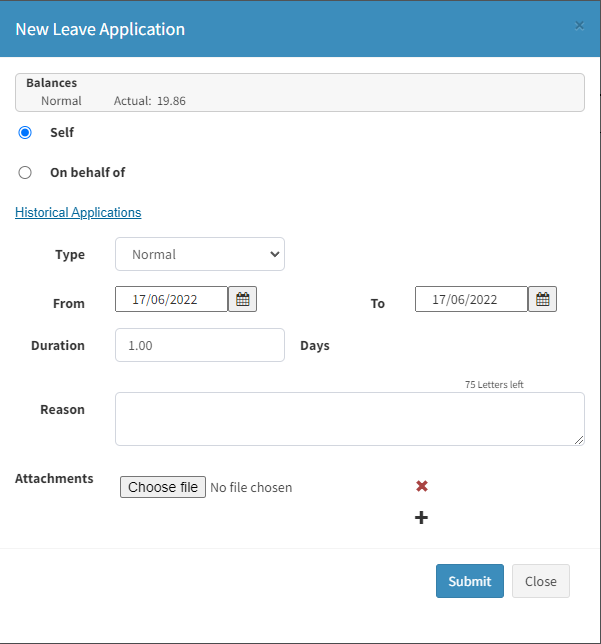
Press the 'Apply' button to apply for an advance Enter the details of the Leave being applied for:
Press the 'Submit' button once you have filled in the details and would like to submit the application. The application will automatically be taken to the inbox of the first person in the approval chain until it is finally Approved or Rejected. By pressing the 'Eye' icon it is possible to see that status of the application and where the application is in the approval chain. |

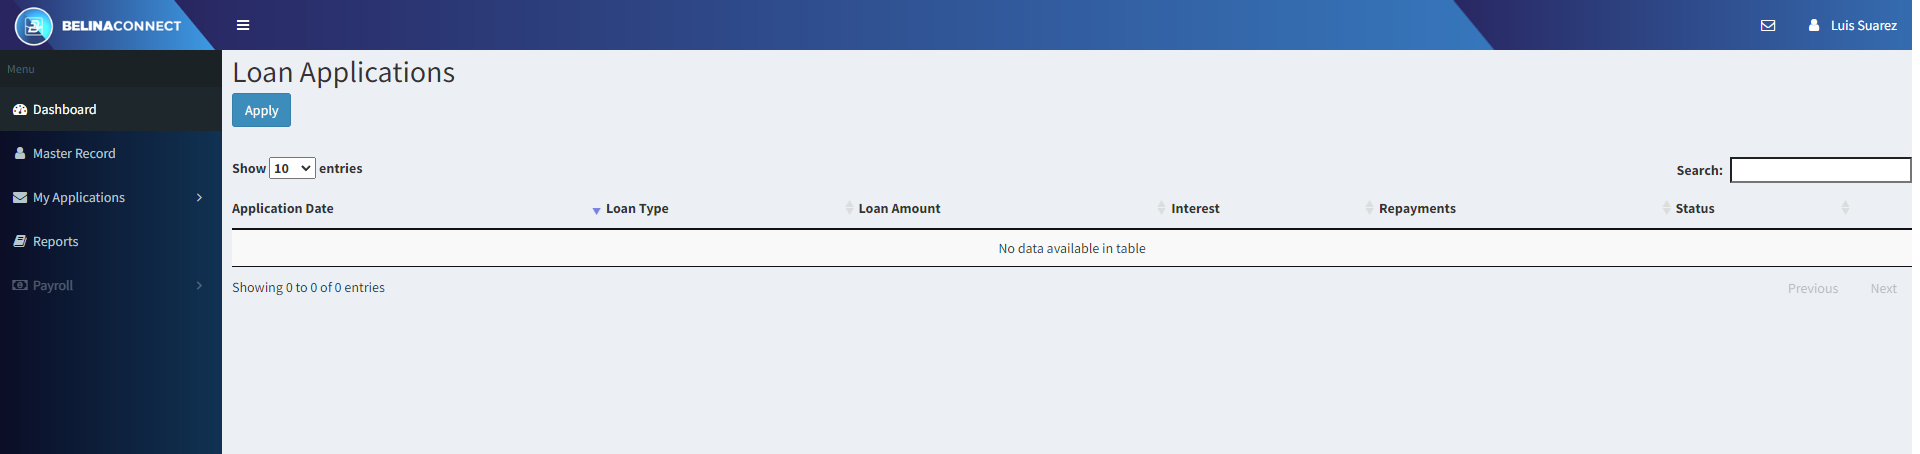
To apply for a Loan click on the 'Loan' tile/ button under 'My Applications'. Alternatively go to the menu on the left hand side of the Dashboard, select 'My Applications', then 'Loan'. The next screen displays a list of all the Loan applications that have previously been made, if any. Notice the status of each application, whether it is 'Pending', 'Approved' or 'Rejected'.
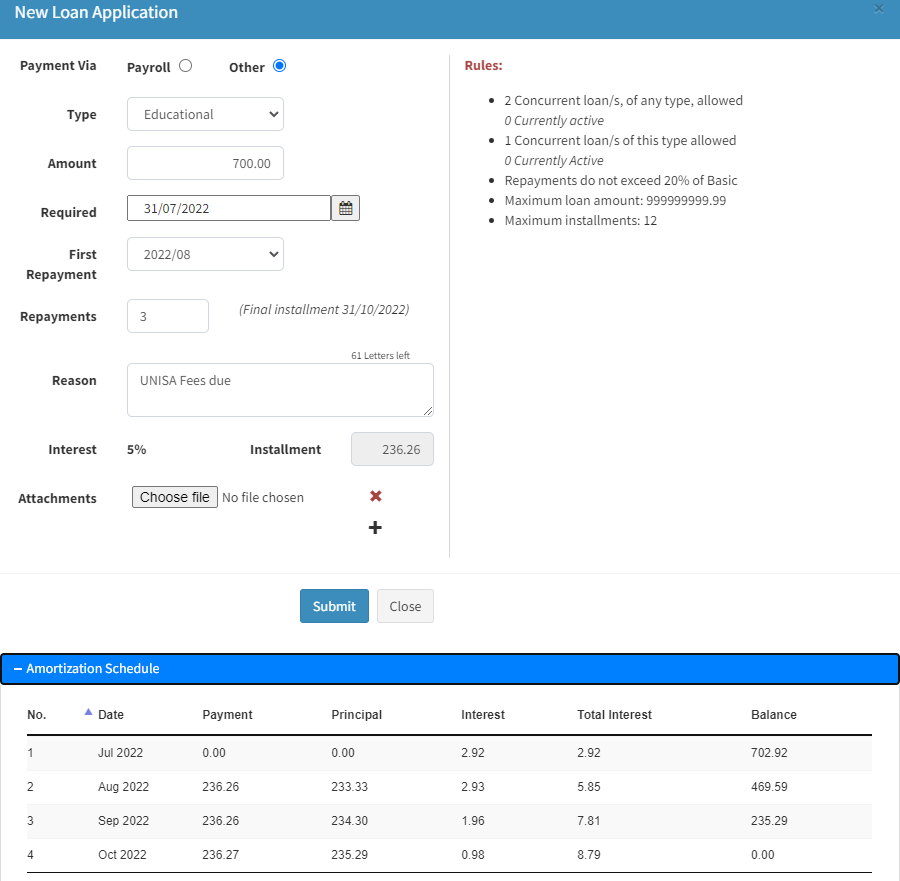
Press the 'Apply' button to apply for a Loan. Enter the details of the Loan being applied for being careful to ensure that the application takes into account the Loan rules that apply, see the Rules displayed on either the right hand side, or bottom, of the screen.:
Notice : The screen, below, shows the 'amortization' of the loan (shows the movements on the loan).
Press the 'Submit' button once you have filled in the details and would like to submit the application. The application will automatically be taken to the inbox of the first person in the approval chain until it is finally Approved or Rejected. By pressing the 'Eye' icon it is possible to see that status of the application and where the application is in the approval chain. |
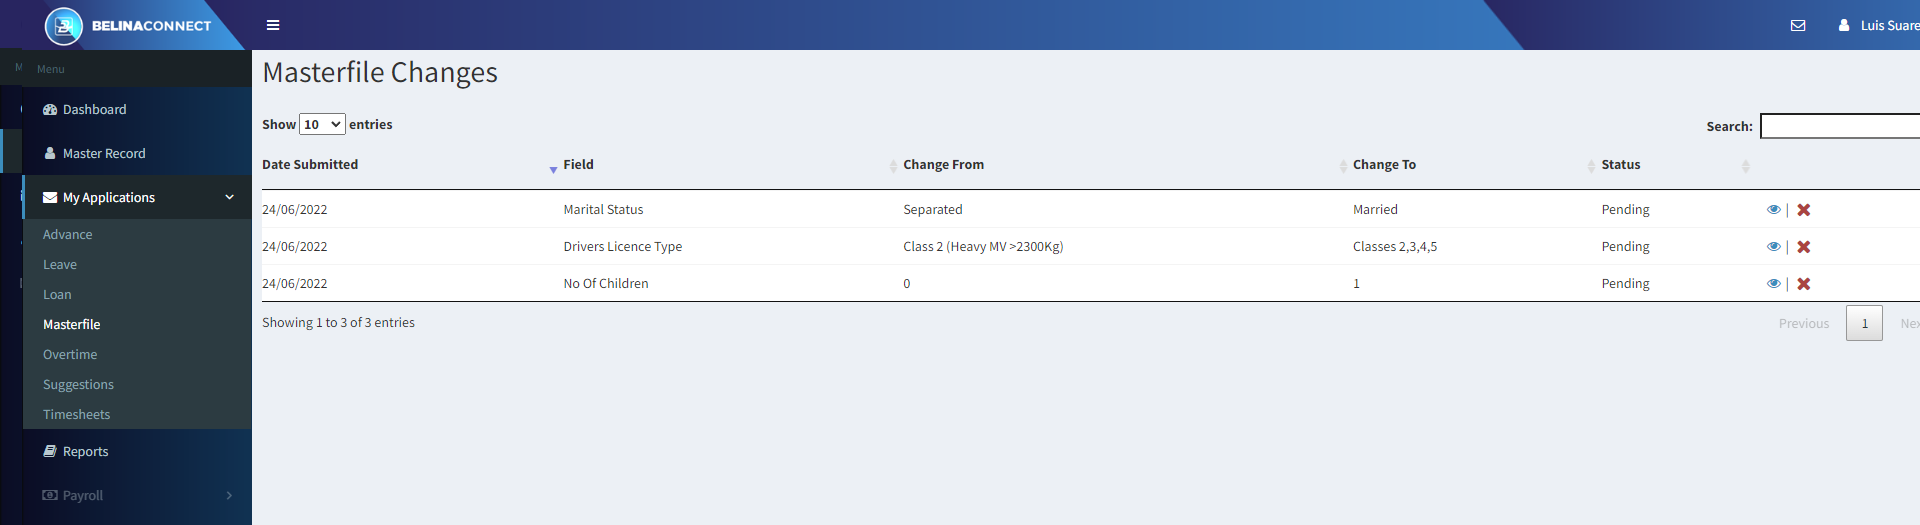
To view Masterfile field changes that you have submitted under 'Master Record'. Click on the 'Masterfile' tile/ button under 'My Applications'. Alternatively go to the menu on the left hand side of the Dashboard, select 'My Applications', then 'Masterfile'. A table shows a listing of Master Record change submissions that have previously been made.
Notice the status of the application, whether it is 'Pending' or 'Approved'. The changes will automatically be taken to the inbox of the first person in they are Approved or Rejected. |
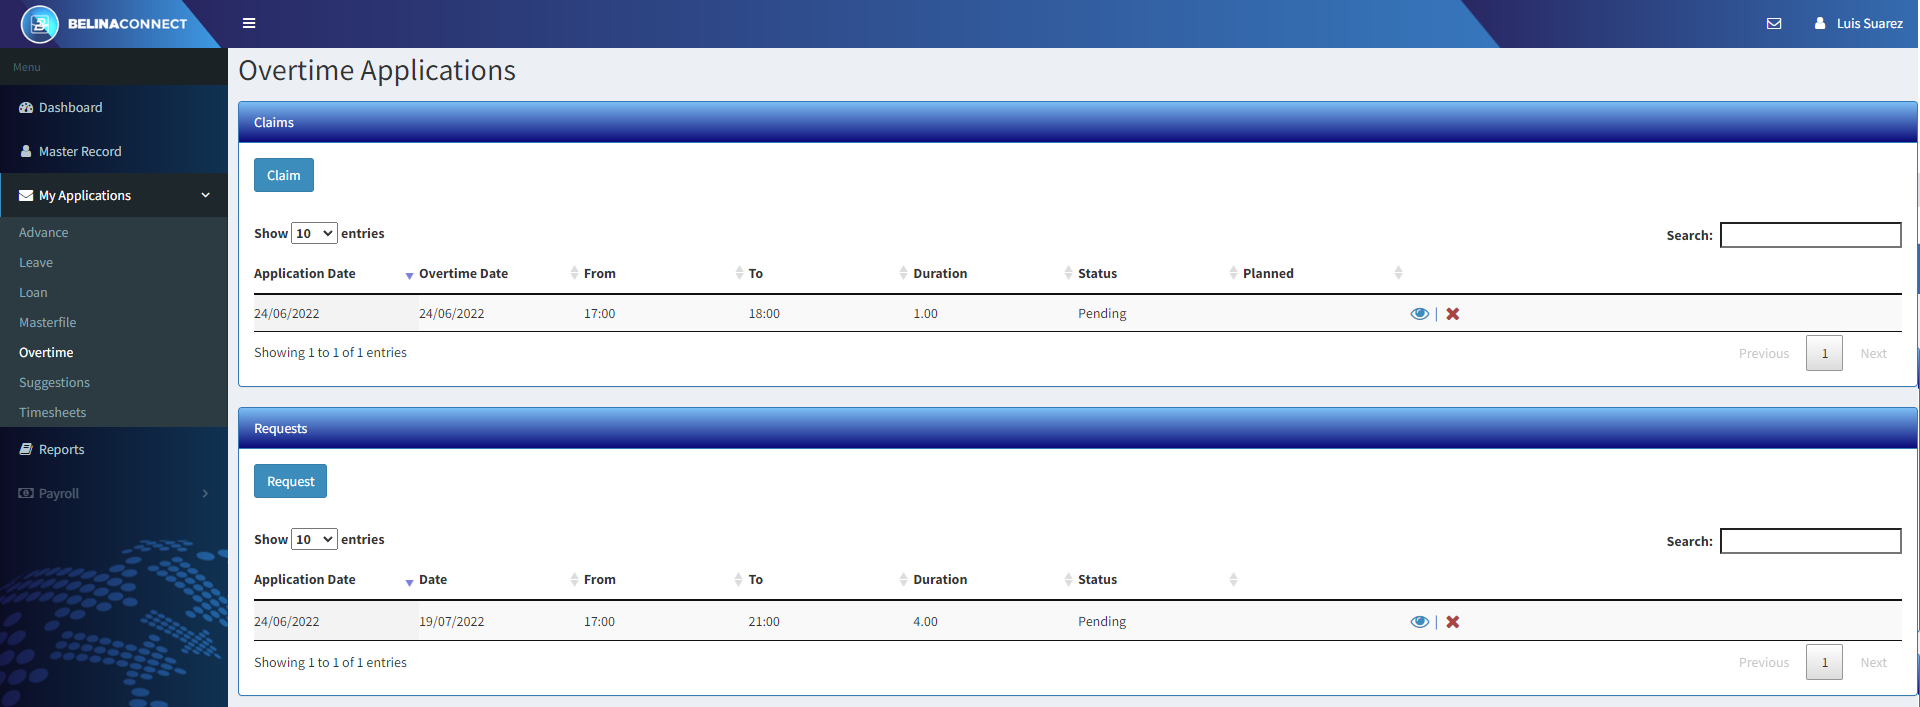
To apply for Overtime click on the 'Overtime' tile/ button under 'My Applications'. Alternatively go to the menu on the left hand side of the Dashboard, select 'My Applications', then 'Overtime'. The next screen displays a list of all the Overtime applications that have previously been made, if any. Notice the status of each application, whether it is 'Pending', 'Approved' or 'Rejected'. Press the 'Claim' button to claim overtime that has already been worked or the 'Request' button to apply for overtime that will be worked in the future.
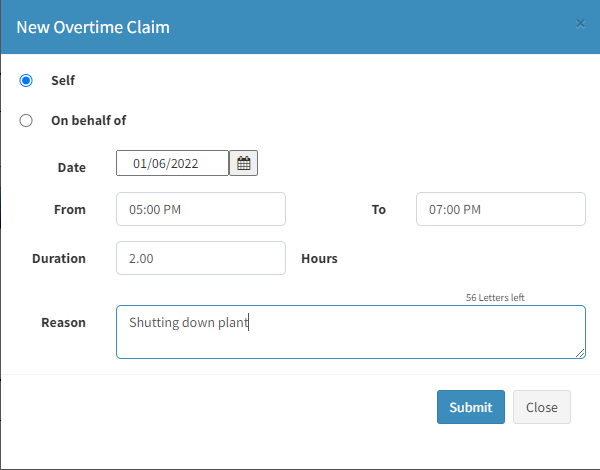
Press the 'Claim' button to claim for overtime already worked or the 'Request' button to request overtime to be worked in the future. A supervisor may request overtime for themselves and other people working overtime. Enter the details of the Overtime being applied for:
Press the 'Submit' button once you have filled in the details and would like to submit the application. The application will automatically be taken to the inbox of the first person in the approval chain until it is finally Approved or Rejected. By pressing the 'Eye' icon it is possible to see that status of the application and where the application is in the approval chain. |
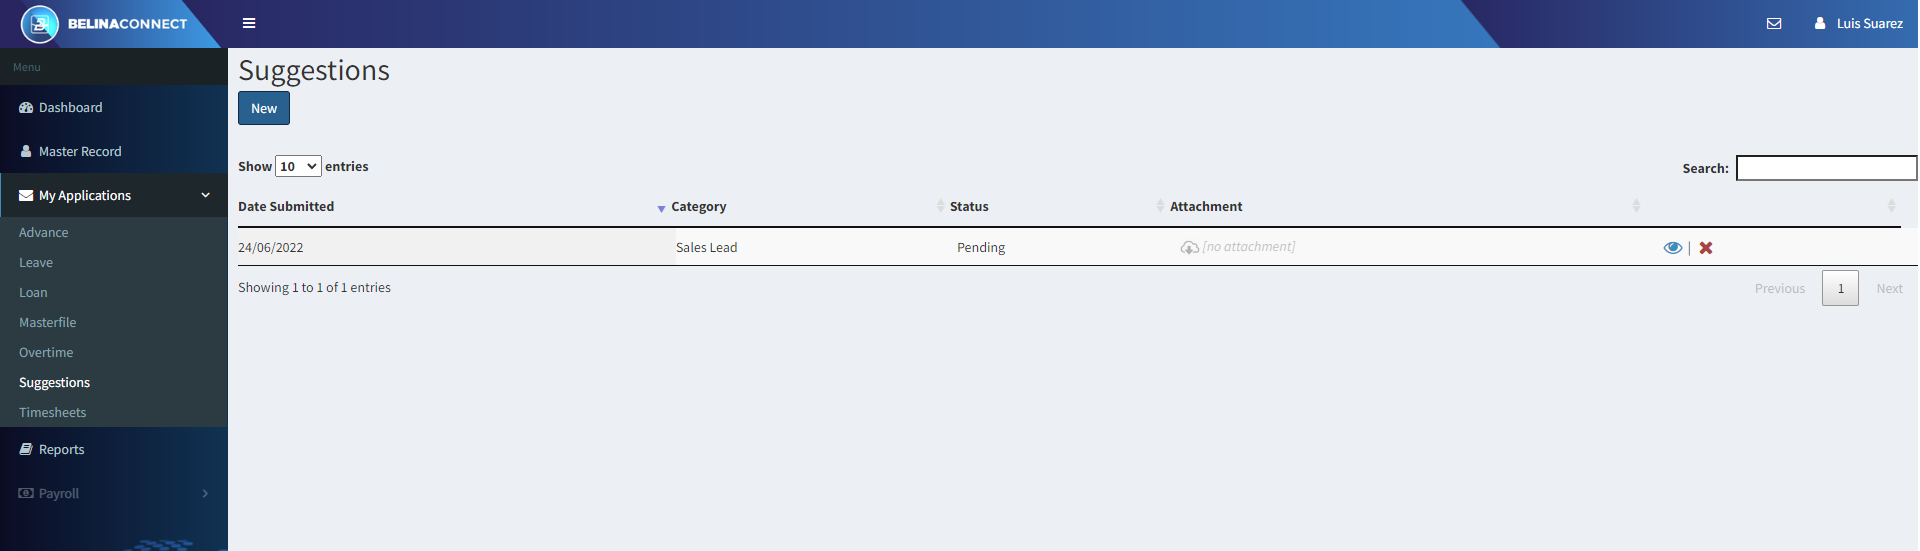
To make a Suggestion click on the 'Suggestions' tile/ button under 'My Applications'. Alternatively go to the menu on the left hand side of the Dashboard, select 'My Applications', then 'Suggestions'. The next screen displays a list of all the suggestions that have previously been made, if any. Notice the status of each Suggestion application, whether it is 'Pending', 'Approved' or 'Rejected'.
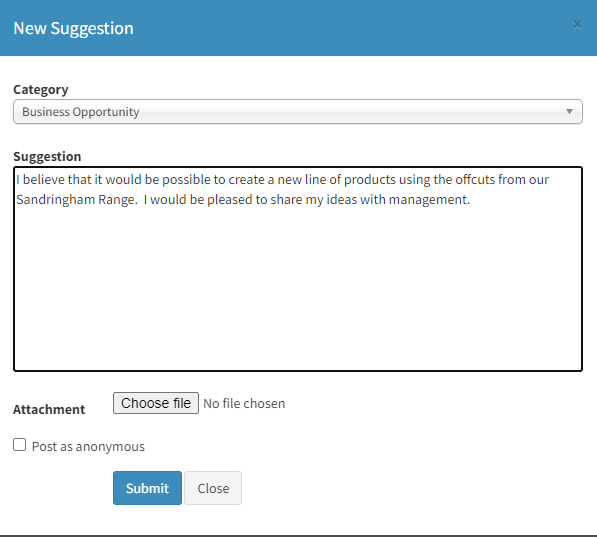
Press the 'New' button to enter the the details of the suggestion:
Press the 'Submit' button once you have filled in the details and would like to submit the application. The suggestion will automatically be taken to the inbox of the first person in the approval chain until it is finally Approved or Rejected. By pressing the 'Eye' icon it is possible to see that status of the application and where the application is in the approval chain. |
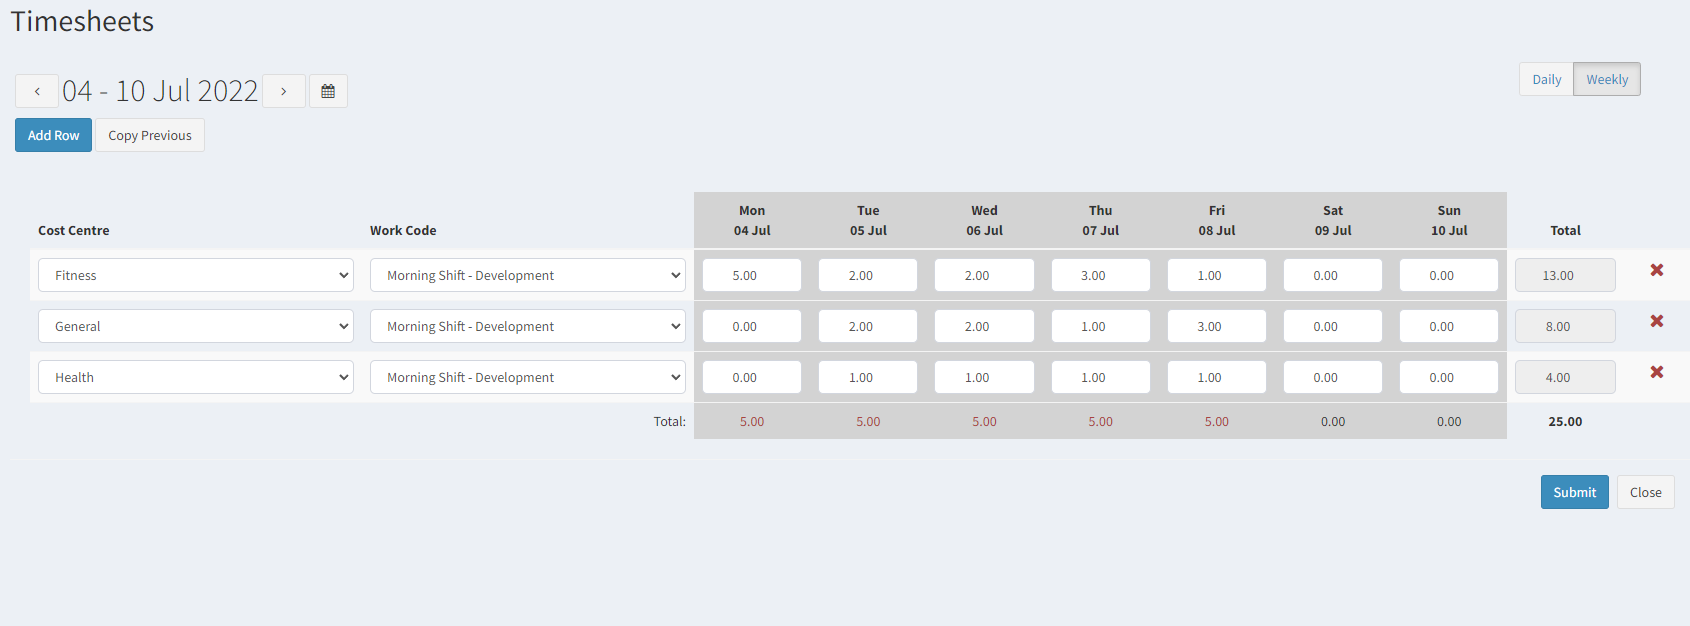
To submit timesheet times click on the 'Timesheets' tile/ button under 'My Applications'. Alternatively go to the menu on the left hand side of the Dashboard, select 'My Applications', then ''Timesheets'. The next screen displays a capture form for times in a particular week.
Weekly Capture of Times: By default, times can be captured a week at a time in overall hours only. Notice the 'Weekly' selection on the top right hand corner of the screen. If 'Daily' is selected then it is possible to add more detail to the times including the start and end time as well as a comment. See notes below on 'Daily Capture of Times'. If the
Use the 'Add Row' button to enter the time details days in the selected date range.
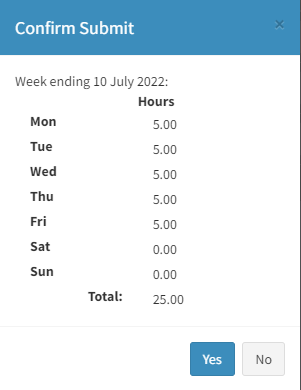
Press the 'Submit' button once you have filled in the details and would like to submit the timesheet. When the timesheet has been submitted a confirmation screen displays with the summary of the times being submitted. The timesheet details will automatically be taken to the inbox of the first person in the approval chain until they are finally Approved or Rejected. By pressing the 'Eye' icon it is possible to see that status of the timesheet and where the timesheet is in the approval chain.
Daily Capture of Times: To capture timesheet detail on a daily basis click 'Daily' on the top right hand corner of the screen.
Use the 'Add Time' button to enter the time details for the day selected.
Press the 'Save' button once you have filled in the details and would like to submit the timesheet. When the timesheet has been submitted a confirmation screen displays with the summary of the times being submitted. The timesheet details will automatically be taken to the inbox of the first person in the approval chain until they are finally Approved or Rejected. By pressing the 'Eye' icon it is possible to see that status of the timesheet and where the timesheet is in the approval chain. |