For those not using the Belina Payroll Module the data can be exported in spreadsheet format for import into the payroll system being used.
To do this from the Time Control Module:
Go to the ‘Utilities’, ‘Export Data’, then ‘Time Clocking Records’ menu options

Use the range selection window to select the records for export:
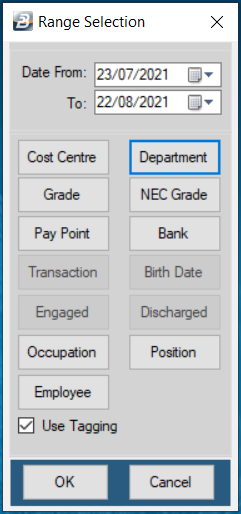
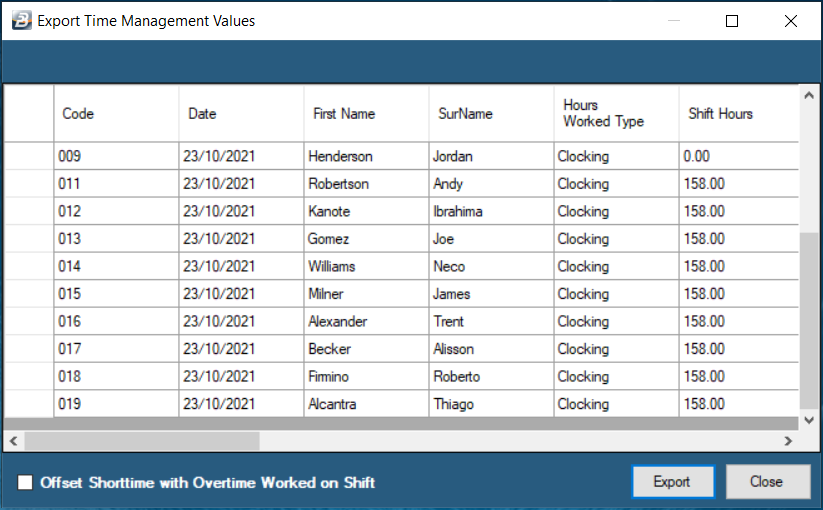
Once the selections have been made press ‘OK’ to continue. A table displays the selected employees.
Check to see that:
listed employees came through as expected, and
the clocking details under each column heading for each employee have come through as expected. [Link: column header explanations of exporting to payroll]
Tick the checkbox if you wish to offset shorttime against overtime hours. Example if there are 2 shorttime hours and 4 overtime hours in a 44 hour week only 2 hours overtime will be paid.
When satisfied press ‘Export’.
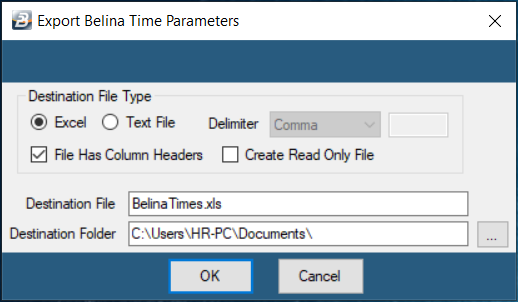
You now have the opportunity of setting up export parameters. Make the necessary selections and then press ‘OK’ to produce the export file.
When the export is complete a message displays that the export has been completed successfully.
Importing Leave from the Time Control module to the Payroll module
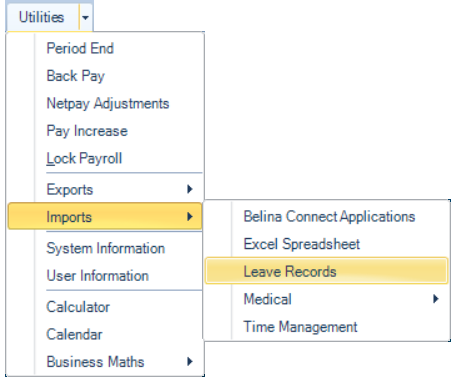
From the Payroll Module go to the ‘Utilities’, ‘Imports’, then ‘Leave Records’ menu options.
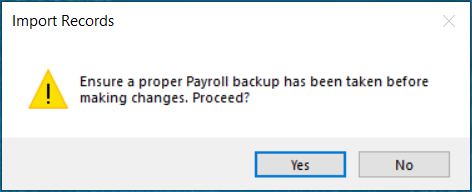
A warning screen asks whether a proper backup has been done. Press ‘Yes’ to continue or ‘No’ to abort the process to go and do the backup.
Select the source file type, normally ‘Belina Time Management’ and the location of the file using the elipsis lookup button.
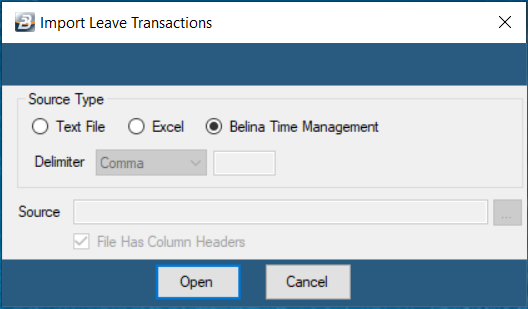
If the Excel option is being used tick the ‘File Has Column Headers’ checkbox if the import file has column headers.
Press ‘Open’ when done.
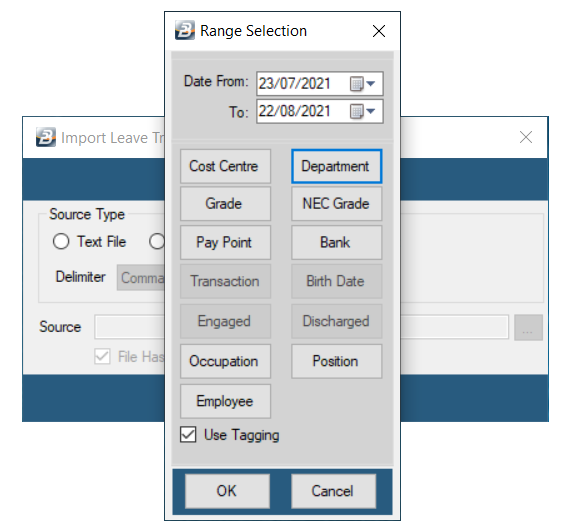
A range selection screen displays. Once the selections have been made press ‘OK’ to continue.
A table displays employee information and the number of days taken under the various leave types.
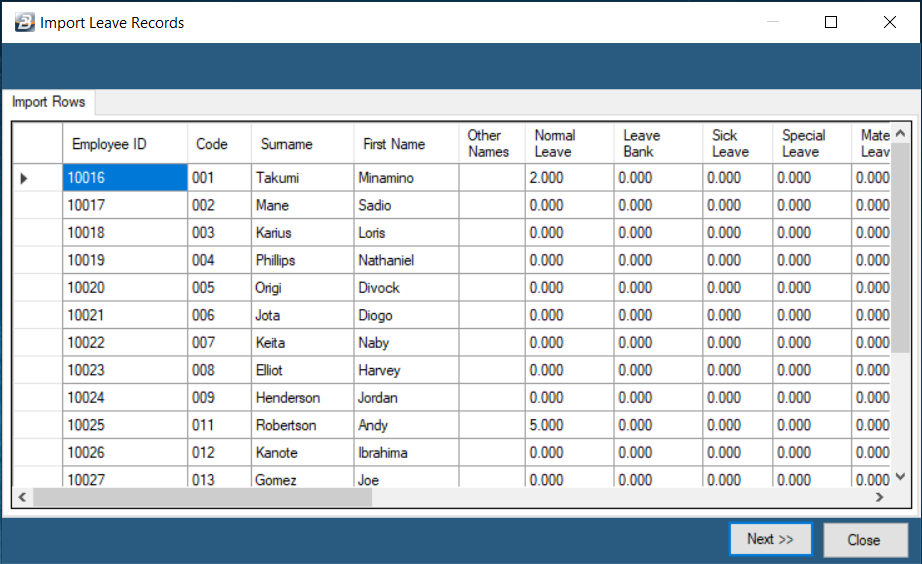
If satisfied with the details being displayed press ‘Next’ to continue.
Now assign imported field information to Payroll Transaction Codes. To do this highlight and click the field in the left hand panel, then click the checkbox of the corresponding Payroll Transaction Code. Do this for each of the ‘Import Fields’.
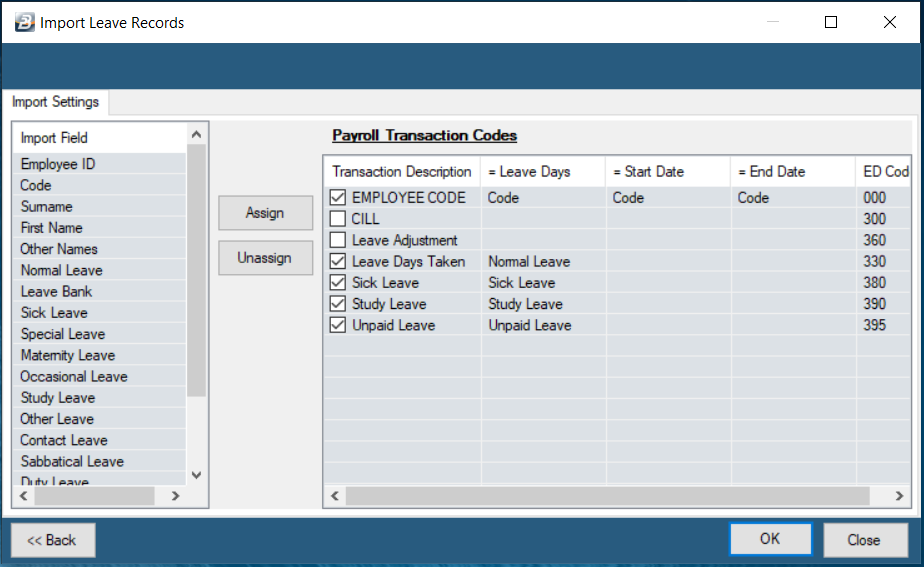
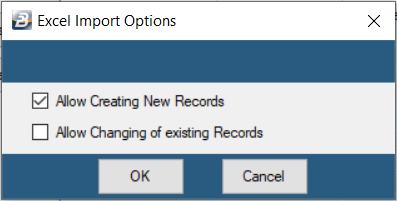
Press ‘OK’ when complete. A screen now displays to enter permissions for the creation and changing of records. Normally tick both checkboxes.
Press ‘OK’ to continue with the import. A confirmation screen then displays showing that the import has been successfully completed.
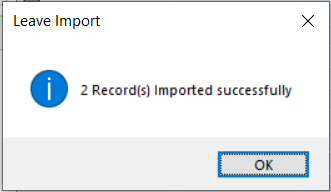
Press ‘OK’ to close the window and complete the process.