To download transactions:
Go to the ‘Process’ then ‘Clock Administration’ menu options.
The available clocks are listed on the left-hand side panel of the screen. In a multi-clock environment check that all the clocks are connecting. To do this select a clock, then ‘Test Connections’, then do this for each of the remaining clocks.
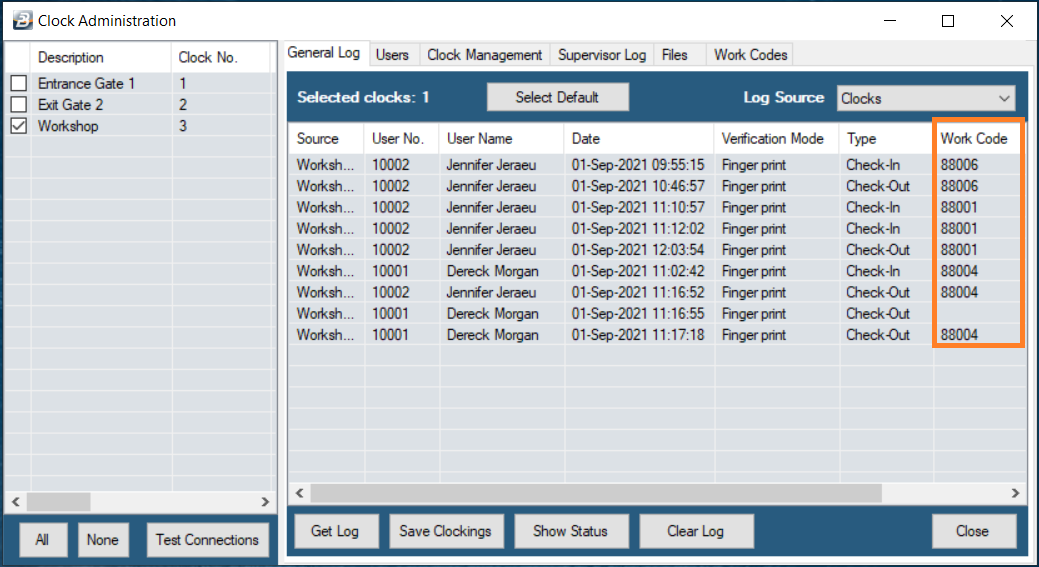
When downloading transactions from the clocks the system downloads to the Belina Time Control module all the transactions from all the clocks but one clock at a time. The data is not cleared from the clock when a download is done. It is necessary to do a separate ‘Clear Log’ procedure to clear data from the clocks. Care should be taken to ensure that the data on the clock has been downloaded to all payrolls before clearing data. Generally clearing data every 3 months is sufficient.
The source of the data could be directly from a clock or from a flash drive. Set the ‘Log Source’ using the dropdown menu which by default is set to ‘Clocks’.
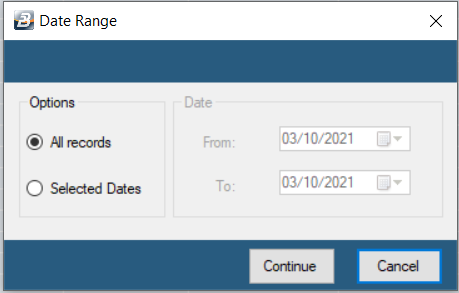
To start the download click the ‘Get Log’ button. The following screen displays:
With TFT500, TFT400 and FA1 clocks select ‘All records’ for download. It is not possible to select a specified date range. When downloading transactions from a TFT600 clock it is possible to select a date range. Use the radio button to select either ‘All Records’ or ‘Selected Dates’, then enter the date range.
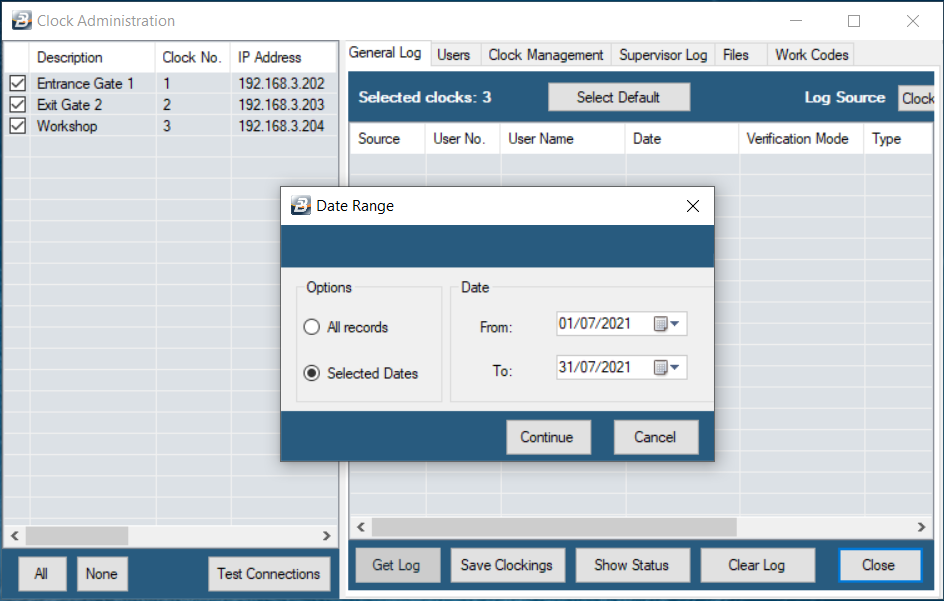
With TFT600 clocks it is possible to select a date range. Use the radio button to select either ‘All Records’ or ‘Selected Dates’, then enter the date range.
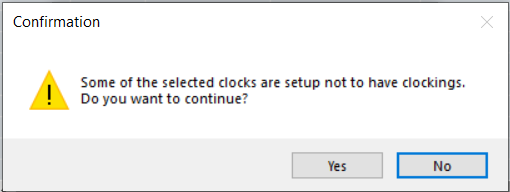
Press ‘OK’ to continue. A confirmation screen displays:
 n
n
Press ‘Yes’ to continue.
The system then starts to download the data displaying a progress bar as it does so.
A message displays the result of the download.
A message displays ‘Processing completed successfully’. Press ‘Close’ to continue.
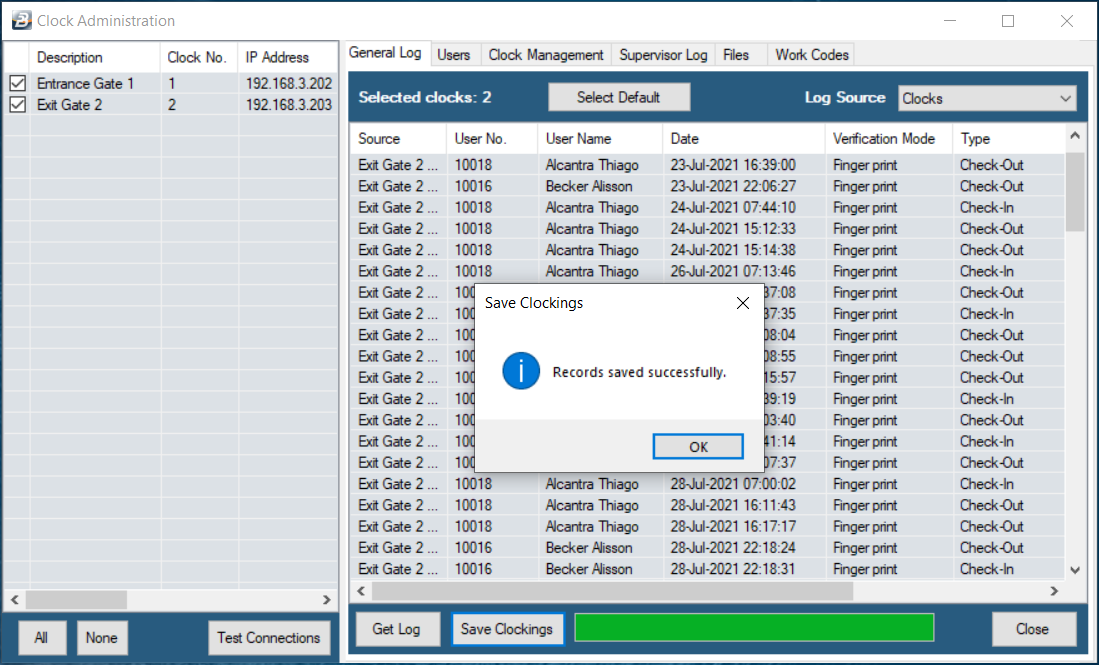
Now we save the clockings. To do this press ‘Save Clockings’. Notice that the message ‘Record not Saved Duplicate Record Exists’ may display – if this message displays it could mean that some of the records have been saved before. New records are actually saved which means all the records are safely saved.
Click ‘Close’ to close the screen.