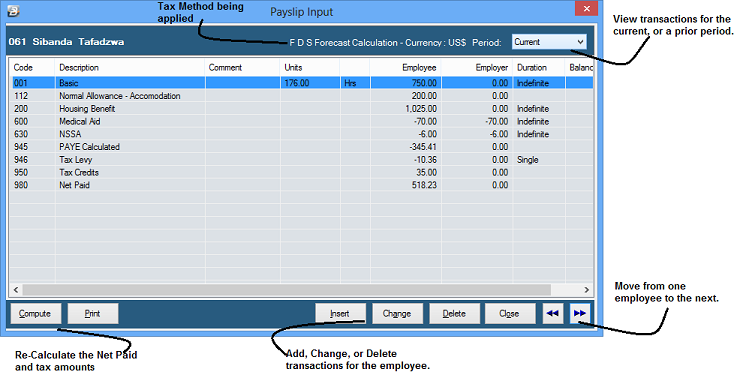
Payslip Input Payslip Input shows all the transactions processed for an employee, no matter which input method is used. The final result produced appears in a similar form to the payslip that will be presented to the employee.
To process transactions using Paylip Input:
Click to play
Use Payslip Input to:
Transactions in Payslip Input
Once all transactions have been correctly entered on Payslip input you may wish to press the 'Compute' button to see the final picture for the employee including PAYE, Aids Levy and Net Paid. Pressing Compute button is optional but running the full calculate tax routine is a requirement of the system once all transactions have been processed. When the calculate tax routine is run it goes through each employee and recalculates the tax and net pay, at the same time it accrues leave (if not already done) and updates other parameters in the system (see Calculation Routine).
View Prior Periods A drop down menu next to 'Period' allows you to view history transactions that occurred, for that employee, in any prior period selected.
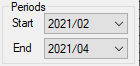
Setting transactions to Multiple Durations Transactions like Basic, Pension, Trade Union, NEC come through automatically every period from the date they were first entered. Other transactions need to be set up to come through automatically for the number of periods required, as illustrated below:
|